

Yarn in brown
Worsted (4) · 100% acrylic
Authored selection for the head, torso, arms, legs, and hanging loop. Amount is not established; the fiber and weight are design choices, not facts recovered from the reference.
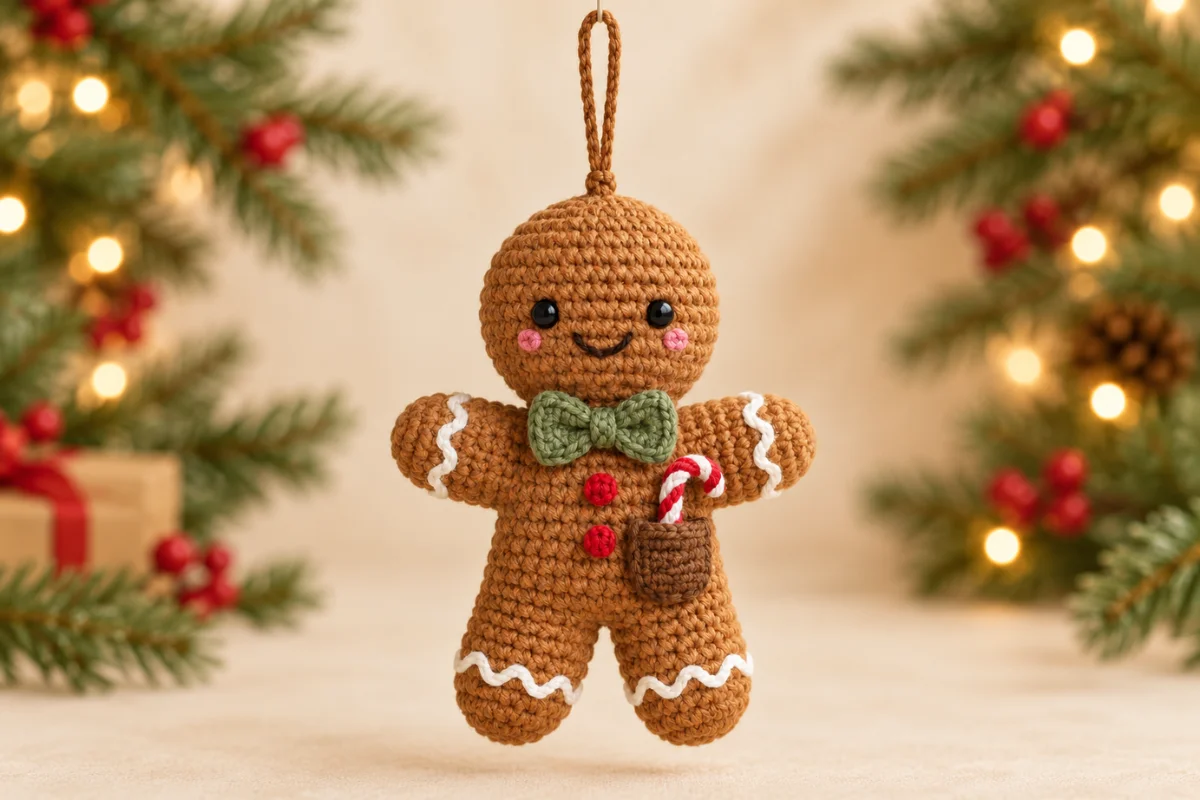
Crochet Christmas Ornaments
A small, stuffed ornament with icing details, a bow tie, buttons, and a candy cane pocket
This original reference-inspired development draft makes a stuffed gingerbread man from separate crocheted pieces, then adds embroidered icing, a bow tie, buttons, a pocket, and a hanging loop. Construction and authored material selections need human review and physical testing.
Nobody has made this one start to finish yet. Check your stitch counts as you go, and tell us if something does not add up.
Worked in 7 pieces
Torso, Head, Arms, Legs, Bow tie, Pocket, Hanging loop
Some sewing required
See Assembly & finishing.
Needs stuffing
Polyester fiberfill
Gather these before you begin.
Required (8)Optional (1)
Worsted (4) · 100% acrylic
Authored selection for the head, torso, arms, legs, and hanging loop. Amount is not established; the fiber and weight are design choices, not facts recovered from the reference.
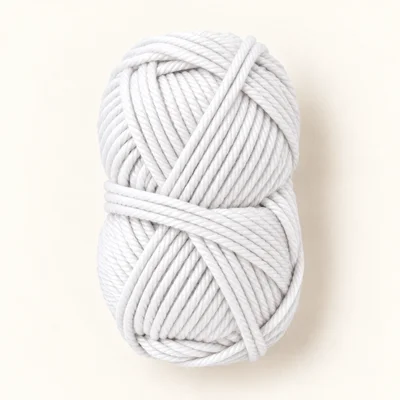
Worsted (4) · 100% acrylic
Authored selection for the icing details. Amount is not established.
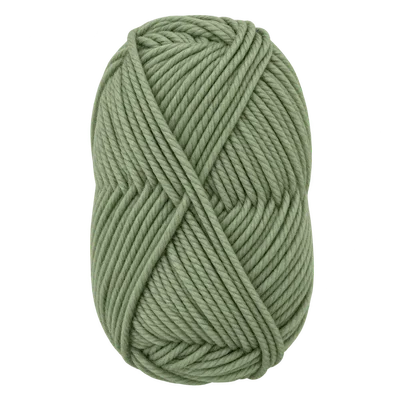
Worsted (4) · 100% acrylic
Authored selection for the bow tie. Amount is not established.
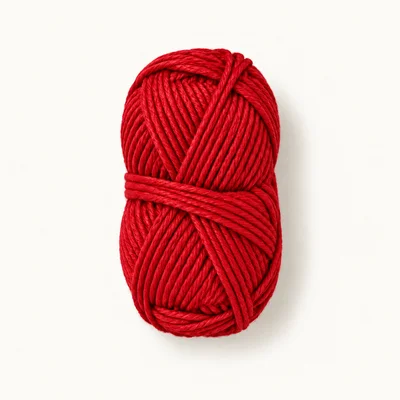
Worsted (4) · 100% acrylic
Authored selection for the two small cheeks. Amount is not established.
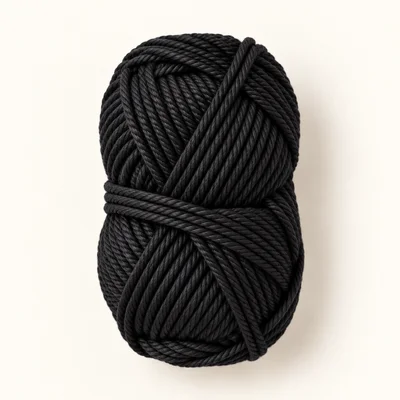
Worsted (4) · 100% acrylic
Authored selection for embroidering the smile. A small amount is needed; consumption is not established.
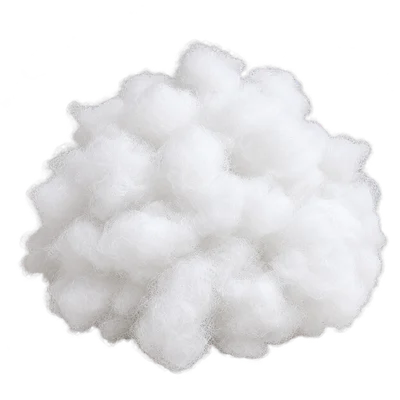
Polyester
Amount is not established. Stuff the head, torso, arms, and legs lightly so the ornament stays soft and hangs comfortably.
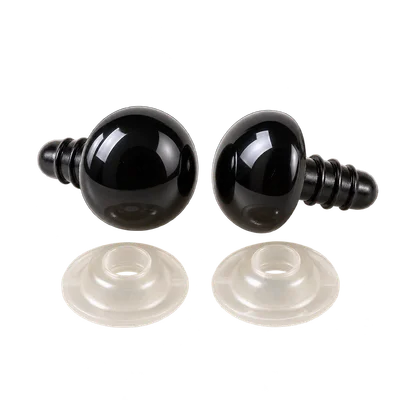
2 pieces
The 8 mm size is listed in the supplied reference image. This is an authored placement choice for this draft; secure the backs inside the head before closing it.
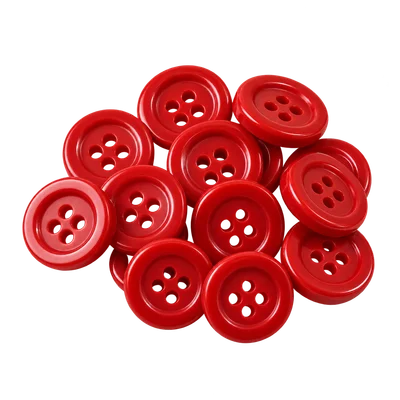
2 pieces
The reference shows two buttons. Sew them securely to the front of the torso.

1 piece
Optional removable decoration for the pocket. Use a lightweight miniature candy cane that fits the pocket.
Worsted acrylic yarn
A different yarn weight or fiber changes the finished dimensions, fabric feel, and amount of stuffing needed.
Use a hook that creates a dense fabric for the stuffed pieces. The stated size remains a design target and must be checked on a sample.
Two small buttons
Embroidered button shapes remove the hard button components but change the surface appearance.
If substituting embroidery, use red yarn and stitch two small circles in the same vertical positions on the torso.
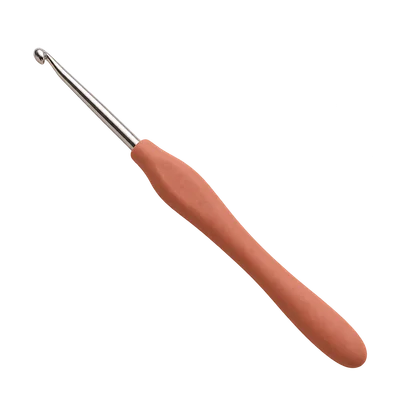
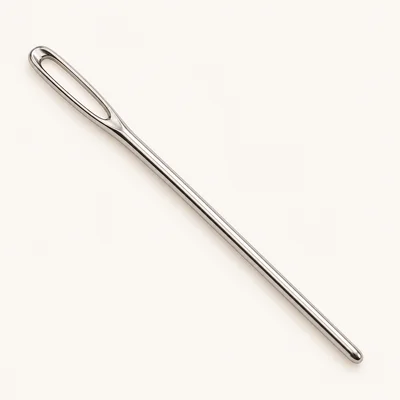
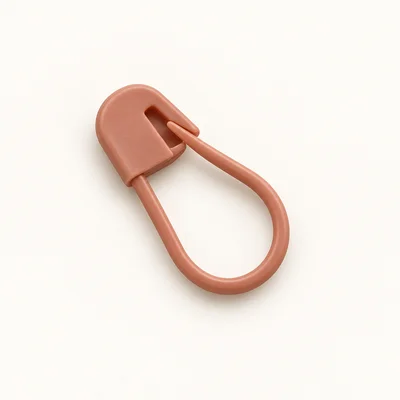
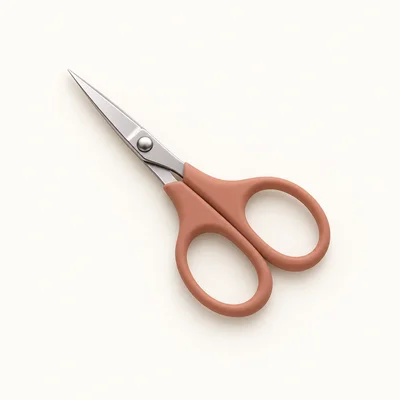
Check off each step to make sure you are ready. Preparation stays in this browser until you log in.
0 / 5 complete
Follow each step at your own pace.
Round 1 of 38
0%
Progress stays in this browser until you log in.
With brown, make a magic ring and work 6 sc into it.
Stitch count: 6 stitches
Inc in each st around.
Stitch count: 12 stitches
(Sc 1, inc) × 6.
Stitch count: 18 stitches
(Sc 2, inc) × 6.
Stitch count: 24 stitches
(Sc 3, inc) × 6.
Stitch count: 30 stitches
Tips
The torso has a flat circular base and 30 stitches around.
Sc in each st around for 7 rounds.
Stitch count: 30 stitches
(Sc 3, dec) × 6.
Stitch count: 24 stitches
(Sc 2, dec) × 6.
Stitch count: 18 stitches
(Sc 1, dec) × 6. Stuff the torso lightly, leaving the 12-stitch opening at the top unclosed. Fasten off and leave a long sewing tail.
Stitch count: 12 stitches
Tips
The torso is a stuffed tube with a 12-stitch opening at the top for attaching the head.
With brown, make a magic ring and work 6 sc into it.
Stitch count: 6 stitches
Inc in each st around.
Stitch count: 12 stitches
(Sc 1, inc) × 6.
Stitch count: 18 stitches
(Sc 2, inc) × 6.
Stitch count: 24 stitches
(Sc 3, inc) × 6.
Stitch count: 30 stitches
Sc in each st around for 4 rounds.
Stitch count: 30 stitches
(Sc 3, dec) × 6.
Stitch count: 24 stitches
(Sc 2, dec) × 6. Insert the safety eyes between Rnds 7 and 8, about 6 stitches apart, and secure the backs inside the head. Stuff the head firmly enough to hold its shape, without stretching the fabric.
Stitch count: 18 stitches
Tips
The eyes are secured and the head is stuffed, with an 18-stitch opening remaining.
(Sc 1, dec) × 6.
Stitch count: 12 stitches
Dec × 6. Fasten off, thread the yarn tail through the remaining 6 stitches, pull closed, and secure the tail inside the head.
Stitch count: 6 stitches
Tips
The head is stuffed and closed.
Make 2. With brown, make a magic ring and work 6 sc into it.
Stitch count: 6 stitches
Inc in each st around.
Stitch count: 12 stitches
(Sc 1, inc) × 6.
Stitch count: 18 stitches
Sc in each st around for 4 rounds.
Stitch count: 18 stitches
(Sc 1, dec) × 6. Stuff each arm lightly.
Stitch count: 12 stitches
Tips
Each arm is lightly stuffed and has a 12-stitch opening.
Sc in each st around. Fasten off, leaving a long sewing tail.
Stitch count: 12 stitches
Flatten the opening so 6 stitches from the front align with 6 stitches from the back. With the yarn tail, sew through both layers across all 6 pairs to close the arm opening.
Stitch count: 6 stitches
Tips
Make 2 closed, lightly stuffed arms; keep the long tail for attaching them to the torso.
Make 2. With brown, make a magic ring and work 6 sc into it.
Stitch count: 6 stitches
Inc in each st around.
Stitch count: 12 stitches
(Sc 1, inc) × 6.
Stitch count: 18 stitches
Sc in each st around for 5 rounds.
Stitch count: 18 stitches
(Sc 1, dec) × 6. Stuff each leg lightly.
Stitch count: 12 stitches
Tips
Each leg is lightly stuffed and has a 12-stitch opening.
Sc in each st around. Fasten off, leaving a long sewing tail.
Stitch count: 12 stitches
Flatten the opening so 6 stitches from the front align with 6 stitches from the back. With the yarn tail, sew through both layers across all 6 pairs to close the leg opening.
Stitch count: 6 stitches
Tips
Make 2 closed, lightly stuffed legs; keep the long tail for attaching them to the torso.
With sage green, ch 7. Sc in the 2nd ch from the hook and in each ch across.
Stitch count: 6 stitches
Ch 1, turn. Sc in each st across for 3 rows.
Stitch count: 6 stitches
Tips
The bow tie is a small 6-stitch rectangle. Fasten off with a long tail.
With brown, ch 11. Sc in the 2nd ch from the hook and in each ch across.
Stitch count: 10 stitches
Ch 1, turn. Sc in each st across for 4 rows.
Stitch count: 10 stitches
Tips
The pocket is a 10-stitch rectangle. Fasten off with a long tail for sewing.
With brown, ch 31. Sl st into the crown of the head to anchor the chain, keeping it untwisted. Turn and sc in each of the 30 chains back to the crown, then sl st into the same crown area. Fasten off and secure both ends inside the head.
Stitch count: 30 stitches
Tips
The loop has a chain core reinforced with a row of 30 sc.
With brown, make a magic ring and work 6 sc into it.
Stitch count: 6 stitches
Center the closed base of the head over the 12-stitch opening at the top of the torso. Sew the head base securely around the torso opening, catching all 12 torso stitches. Keep the head upright and the safety eyes facing forward. Weave in the torso tail inside the body.
With the ornament facing forward, sew one arm to each side of the upper torso, just below the head seam, with the folded closures facing toward the torso. Sew one leg to each side of the lower torso, with the legs angled slightly outward and their folded closures against the body. Secure each piece through several stitches, then weave the tails inside the torso.
With black yarn, embroider a curved smile centered below the safety eyes. With red yarn, embroider one small cheek on each side of the smile. With white yarn, surface slip stitch a short wavy icing line across the front of each arm and across the front of each leg. Anchor each line at both ends and weave the tails into the brown fabric.
Pinch the center of the sage green bow tie rectangle and wrap its long yarn tail several times around the center to form two loops. Secure the wrap on the back. Sew the bow tie to the front of the neck just below the head seam. Sew the two red buttons in a vertical line down the center of the torso, below the bow tie.
Place the brown pocket on the front of the ornament, slightly to one side of the lower torso and beneath the buttons. Sew along the bottom and two sides, leaving the top open. Keep the pocket opening large enough for the optional mini candy cane. Insert the candy cane only after finishing.
Check that every sewn piece and decoration is secure. Weave in all remaining ends without pulling the fabric out of shape. The reinforced loop is already attached at the crown; hang the ornament from that loop.
Use a stitch marker in the first stitch of every continuous round and move it up as you work.
Stuff the torso and limbs lightly so the ornament remains comfortable to hang and the attachments lie flat.
Pin all pieces in place before sewing, then check the ornament from the front to keep the limbs balanced.
Leave the pocket empty or omit the pocket if you do not want to include the removable candy cane. The ornament can still be hung from its reinforced yarn loop.
The smile is already embroidered. For a simpler face, use a shorter curved line and omit the cheek embroidery; keep the safety eye placement unchanged.
Spot clean gently with a damp cloth and mild soap, then air dry completely. Do not machine wash; buttons, safety eyes, stuffing, and the hanging loop may be damaged or loosen.
The selected acrylic yarn is an authored material choice, not a fiber identification from the reference image. Spot cleaning is recommended for the assembled ornament because it includes attached hardware and stuffed pieces.
Approximately 6.5 in / 16.5 cm tall including the loop is the design target, not a measured result. Actual size depends on your yarn, hook, and tension.
No. It is an original development draft inspired by the visible gingerbread ornament. The image does not establish the original stitch counts or hidden construction.
Yes. A different yarn weight or fiber will change the ornament's size, drape, and yarn consumption. Choose a hook that produces dense fabric and check that the stuffing does not show through.
The pocket is open at the top and holds a lightweight mini candy cane as a removable decoration. It is not a secure closure.
This draft uses safety eyes and sewn-on buttons, which are small parts that can loosen. It is designed as a hanging decoration, not as a toy for a young child.
Get free crochet patterns and maker tips from Hookfolk.
Login to save your progress
Create a free account or log in to save this pattern, track your progress, and access it on any device.
Have you tried this pattern?
Comments
Be the first to share your experience.