
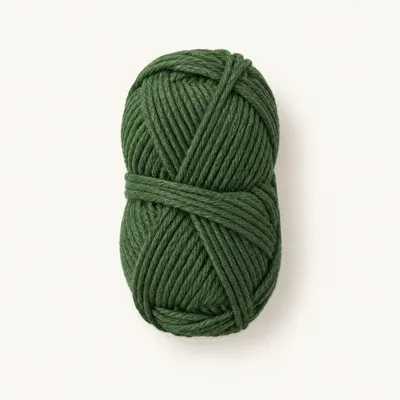
Yarn in green
DK (3) · 100% cotton
Authored selection for the tree body. Use a smooth, tightly plied yarn. Consumption has not been measured.
Christmas Crochet
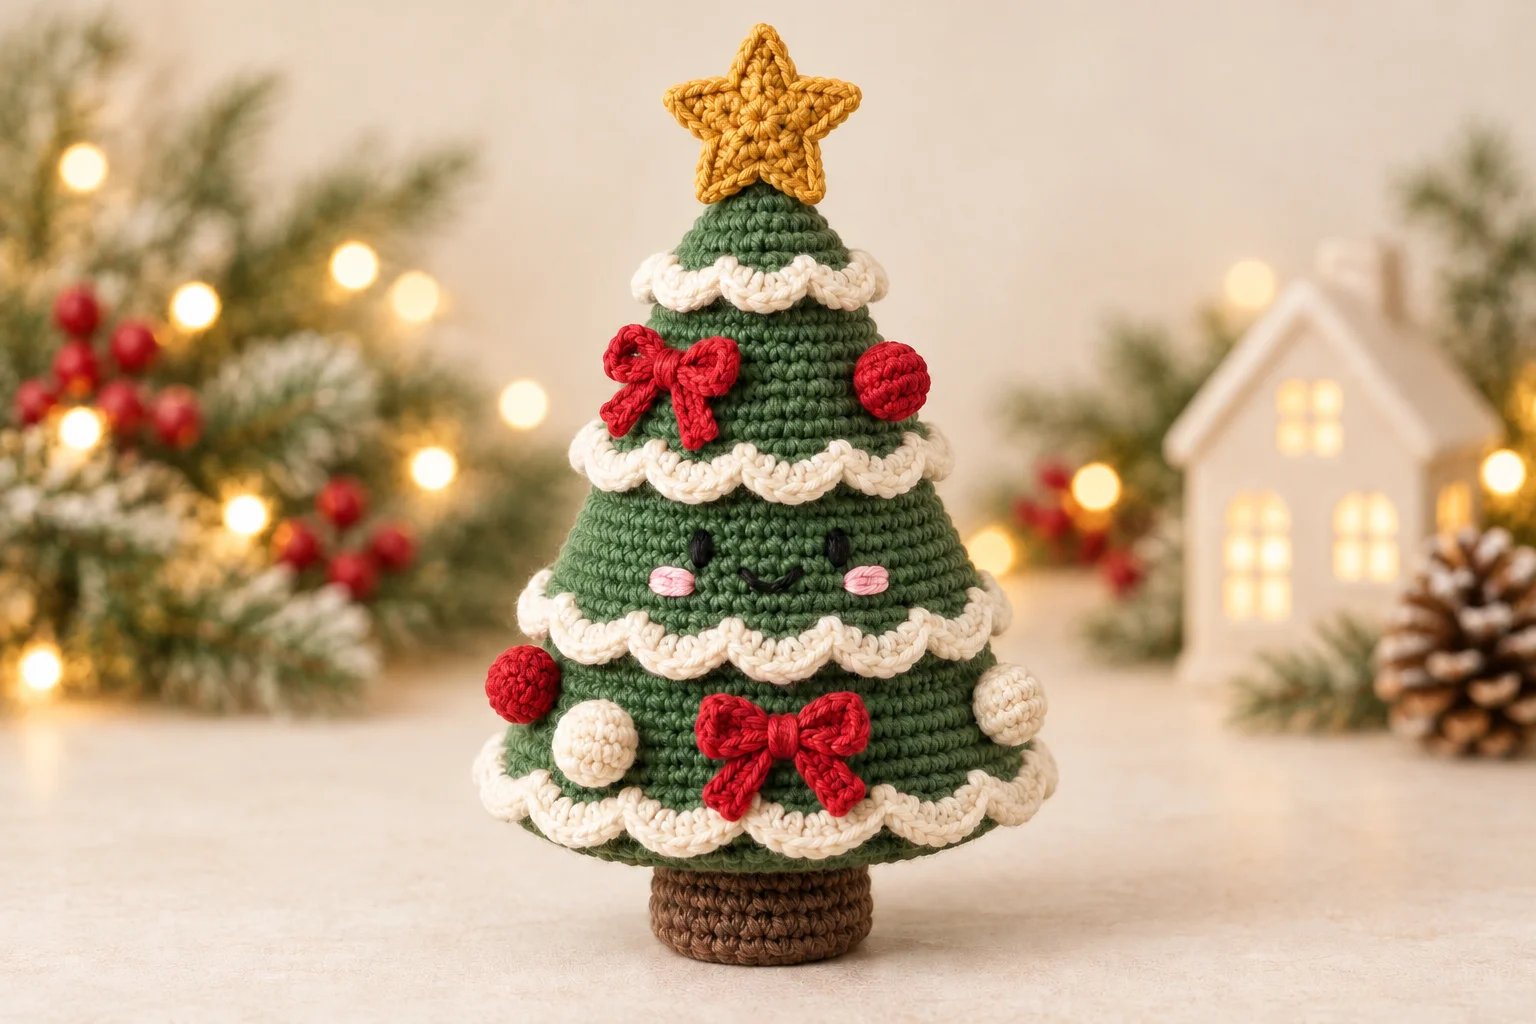
A smiling tabletop tree with a gold star, red bows and crocheted ornaments.
An original reference-inspired development draft requiring human review and physical testing. The design interprets the reference's green tiered silhouette, cream scalloped edges, smiling face, gold star, red decorations and brown trunk through a newly authored construction. Yarn, hook, stitch sequences and attachment methods are design selections, not recovered instructions from the reference.
Nobody has made this one start to finish yet. Check your stitch counts as you go, and tell us if something does not add up.
Worked in 6 pieces
Tree body, Snowy edging, Trunk, Star panel, Bow, Ornament
Some sewing required
See Assembly & finishing.
Needs stuffing
Toy stuffing
Gather these before you begin.
DK (3) · 100% cotton
Authored selection for the tree body. Use a smooth, tightly plied yarn. Consumption has not been measured.
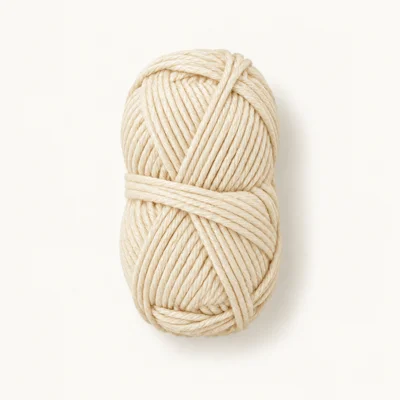
DK (3) · 100% cotton
Authored selection for all four snowy edgings and two ornaments. Consumption has not been measured.
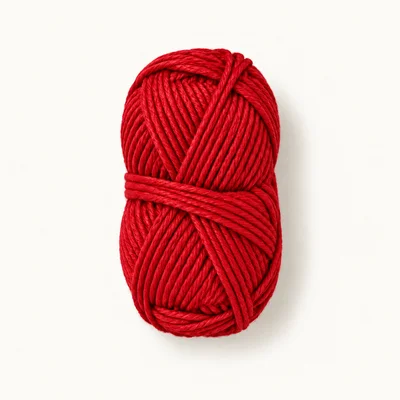
DK (3) · 100% cotton
Authored selection for two bows and two ornaments. Consumption has not been measured.
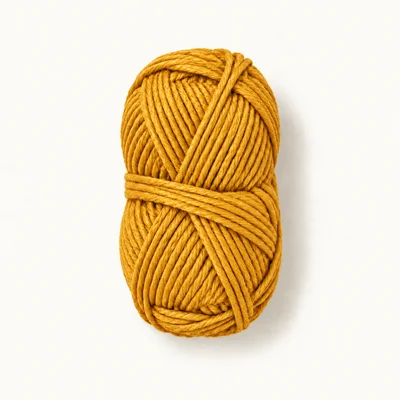
DK (3) · 100% cotton
Authored selection for two star panels. Use gold-colored cotton rather than metallic thread. Consumption has not been measured.

DK (3) · 100% cotton
Authored selection for the trunk. Consumption has not been measured.
100% cotton
Required for the two embroidered eyes and smile. Use three strands of cotton embroidery floss.
100% cotton
Required for the two embroidered cheeks. Use three strands of cotton embroidery floss.
Polyester
Required for the tree body, trunk and four ornaments. Actual consumption is unmeasured. The star and bows are not stuffed.
DK acrylic yarn instead of the selected DK cotton
Acrylic may produce a lighter, springier tree with softer star points and different dimensions.
Use the same written stitch counts, check fabric density before starting and follow the yarn manufacturer's care instructions. Consumption and finished size require a new sample.
Sport-weight cotton instead of DK cotton
With an appropriately smaller hook, the same stitch counts will generally make a smaller tree.
Select a hook that produces closed amigurumi fabric. This substitution does not establish an exact scale or finished measurement.
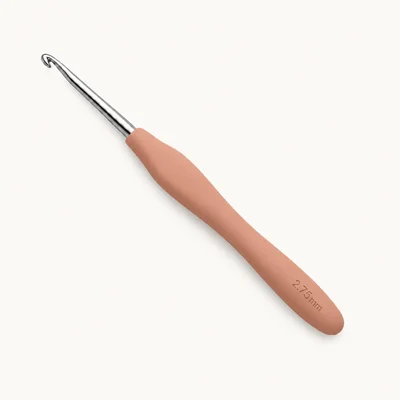
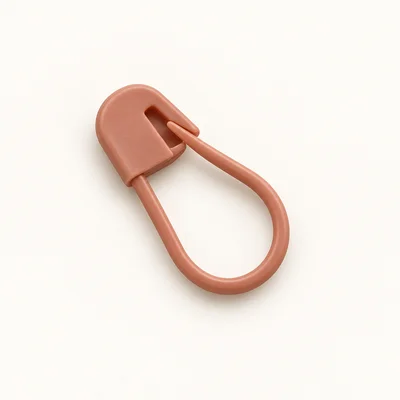
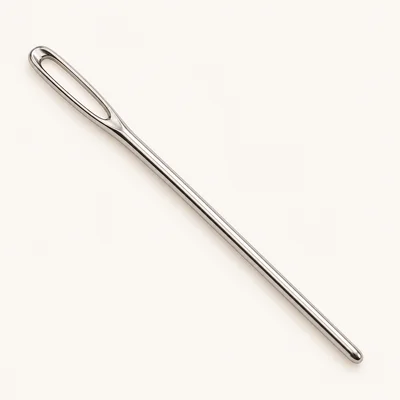
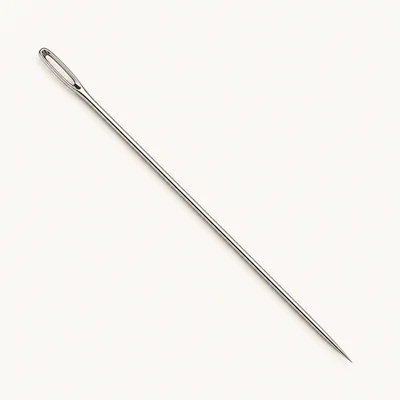
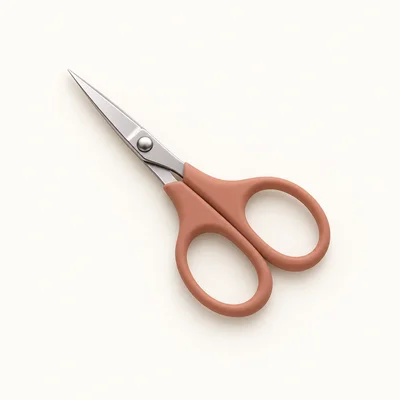
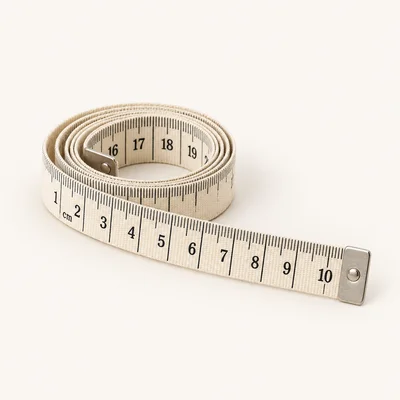
Check off each step to make sure you are ready. Preparation stays in this browser until you log in.
0 / 7 complete
Follow each step at your own pace.
Round 1 of 47
0%
Progress stays in this browser until you log in.
With green, make a magic ring and work 6 sc into it. Pull the ring closed.
Stitch count: 6 stitches
Sc in each st around.
Stitch count: 6 stitches
Inc in each st around.
Stitch count: 12 stitches
Sc in each st around.
Stitch count: 12 stitches
(Sc 1, inc) × 6.
Stitch count: 18 stitches
Working BLO, sc in each st around.
Stitch count: 18 stitches
Tips
The 18 front loops of Tree body Rnd 5 remain unworked for the upper Snowy edging.
(Sc 2, inc) × 6.
Stitch count: 24 stitches
Sc in each st around.
Stitch count: 24 stitches
(Sc 3, inc) × 6.
Stitch count: 30 stitches
Working BLO, sc in each st around.
Stitch count: 30 stitches
Tips
The 30 front loops of Tree body Rnd 9 remain unworked for the second Snowy edging.
(Sc 4, inc) × 6.
Stitch count: 36 stitches
Sc in each st around.
Stitch count: 36 stitches
(Sc 5, inc) × 6.
Stitch count: 42 stitches
Working BLO, sc in each st around.
Stitch count: 42 stitches
Tips
The 42 front loops of Tree body Rnd 13 remain unworked for the third Snowy edging.
(Sc 6, inc) × 6.
Stitch count: 48 stitches
Sc in each st around.
Stitch count: 48 stitches
(Sc 7, inc) × 6.
Stitch count: 54 stitches
Sc in each st around.
Stitch count: 54 stitches
(Sc 8, inc) × 6.
Stitch count: 60 stitches
Working BLO, sc in each st around.
Stitch count: 60 stitches
Tips
All four attachment rings are reserved. The lowest ring has 60 exposed front loops from Tree body Rnd 19.
(Sc 8, dec) × 6.
Stitch count: 54 stitches
(Sc 7, dec) × 6.
Stitch count: 48 stitches
Tips
Before adding stuffing, embroider two black eyes on the front, centered on Tree body Rnd 11 with five stitch columns between their centers. For each eye, make four short vertical satin stitches across one stitch width and one round height. Embroider a shallow U-shaped smile below, using three connected backstitches from Tree body Rnd 12 down to Rnd 13 and back to Rnd 12, spanning three stitch widths. Make three short horizontal pink stitches below and slightly outside each eye. Secure all thread ends inside.
(Sc 6, dec) × 6.
Stitch count: 42 stitches
(Sc 5, dec) × 6.
Stitch count: 36 stitches
(Sc 4, dec) × 6.
Stitch count: 30 stitches
Tips
Fill the cone evenly, pushing small amounts of stuffing into the tip first. Keep the embroidered face smooth and leave the decreasing underside slightly soft.
(Sc 3, dec) × 6.
Stitch count: 24 stitches
(Sc 2, dec) × 6.
Stitch count: 18 stitches
(Sc 1, dec) × 6.
Stitch count: 12 stitches
Tips
Add the last small amount of stuffing. Shape the underside into a shallow, even base rather than a tightly packed dome.
Dec × 6. Fasten off. Thread the tail through the front loops of the remaining 6 stitches, pull the opening closed and weave in the end.
Stitch count: 6 stitches
Tips
The Tree body is fully closed. The four exposed front-loop rings remain available for edging.
With the tree tip pointing toward you, attach cream with an uncounted sl st in an exposed front loop of Tree body Rnd 5 at the back. Ch 1. Beginning in that same loop, (sl st in the next available loop, 3 hdc in the following loop, sl st in the following loop) × 6. Join to the first worked sl st with an uncounted sl st. Fasten off and weave in both ends.
Stitch count: 30 stitches
Tips
Six scallops use all 18 reserved loops. Each scallop contains two counted slip stitches and three hdc.
With the tree tip pointing toward you, attach cream with an uncounted sl st in an exposed front loop of Tree body Rnd 9 at the back. Ch 1. Beginning in that same loop, (sl st in the next available loop, 3 hdc in the following loop, sl st in the following loop) × 10. Join to the first worked sl st with an uncounted sl st. Fasten off and weave in both ends.
Stitch count: 50 stitches
Tips
Ten scallops use all 30 reserved loops. The face remains visible below this edging.
With the tree tip pointing toward you, attach cream with an uncounted sl st in an exposed front loop of Tree body Rnd 13 at the back. Ch 1. Beginning in that same loop, (sl st in the next available loop, 3 hdc in the following loop, sl st in the following loop) × 14. Join to the first worked sl st with an uncounted sl st. Fasten off and weave in both ends.
Stitch count: 70 stitches
Tips
Fourteen scallops use all 42 reserved loops.
With the tree tip pointing toward you, attach cream with an uncounted sl st in an exposed front loop of Tree body Rnd 19 at the back. Ch 1. Beginning in that same loop, (sl st in the next available loop, 3 hdc in the following loop, sl st in the following loop) × 20. Join to the first worked sl st with an uncounted sl st. Fasten off and weave in both ends.
Stitch count: 100 stitches
Tips
Twenty scallops use all 60 reserved loops. Gently spread all four edgings outward with your fingers.
With brown, make a magic ring and work 6 sc into it. Pull the ring closed.
Stitch count: 6 stitches
Inc in each st around.
Stitch count: 12 stitches
(Sc 1, inc) × 6.
Stitch count: 18 stitches
Working BLO, sc in each st around.
Stitch count: 18 stitches
Tips
The BLO round creates the turn from the flat trunk bottom to its side wall.
Sc in each st around for 2 rounds. Fasten off, leaving a sewing tail.
Stitch count: 18 stitches
Tips
The Trunk has a closed bottom and an open 18-stitch upper rim. Stuff it lightly before assembly.
With gold, make a magic ring and work 10 sc into it. Pull the ring closed. Join to the first sc with an uncounted sl st.
Stitch count: 10 stitches
(Ch 4. Sc in the 2nd ch from the hook, hdc in the next ch, dc in the next ch. Skip the next unworked sc of Star panel Rnd 1 and sl st in the following sc of Star panel Rnd 1) × 5. The fifth anchoring sl st goes into the first sc of Star panel Rnd 1, where the initial join was made. Fasten off. Leave a short tail on the first panel and a long joining and attachment tail on the second panel.
Stitch count: 20 stitches
Tips
Each panel has five points. Each point contributes one sc, one hdc, one dc and one anchoring sl st. Five skipped base stitches and five anchoring base stitches account for all 10 stitches of Star panel Rnd 1.
With red, ch 7. Sc in the 2nd ch from the hook and in each remaining ch across.
Stitch count: 6 stitches
Ch 1. Turn. Sc in each st across.
Stitch count: 6 stitches
Ch 1. Turn. Sc in each st across. Fasten off, leaving a sewing tail.
Stitch count: 6 stitches
Tips
Each Bow begins as a six-stitch-wide, three-row rectangle. The center is cinched during assembly.
With red for two copies and cream for two copies, make a magic ring and work 6 sc into it. Pull the ring closed.
Stitch count: 6 stitches
Inc in each st around.
Stitch count: 12 stitches
Sc in each st around.
Stitch count: 12 stitches
Tips
Place a small pinch of stuffing in each Ornament before its final round.
Dec × 6. Fasten off, leaving a sewing tail. Thread the tail through the front loops of the remaining 6 stitches and pull the opening closed. Keep the tail for attachment.
Stitch count: 6 stitches
Tips
There are four closed Ornaments: two red and two cream.
With green, make a magic ring and work 6 sc into it. Pull the ring closed.
Stitch count: 6 stitches
Lightly stuff the Trunk, keeping its bottom flat. Center its open rim over the closed underside of the Tree body. The rim should sit approximately along Tree body Rnd 27. With the brown tail, sew through each of the 18 rim stitches and the corresponding body stitch at Rnd 27, adjusting the alignment so the trunk stands straight beneath the tip. Complete all 18 attachments, secure the tail and bury it inside. Set the tree on a flat surface and redistribute the stuffing through the fabric if the trunk bottom bulges.
Place the two Star panels together with their right sides facing outward and all five points aligned. Hide the short tails between the panels. Using the second panel's long gold tail, whipstitch the outer edges together, catching corresponding edge loops on both panels. Sew around every point and valley without adding stuffing. Orient one point upward. Seat the valley between the two lower points over the Tree body tip. Sew this lower valley and the adjoining inner edges of both lower points securely to Tree body Rnds 1–3. Keep the star facing the same direction as the embroidered face. Secure and bury the tail.
For each Bow, weave its foundation tail into the rectangle. Pinch the middle between stitch columns 3 and 4 to form two equal wings. Pass the sewing tail through this center, wrap it tightly around the center four times and secure the wraps with two stitches through the back. Sew the first Bow to the front-left of Tree body Rnds 6–8, above the second Snowy edging. Sew the second Bow at the front center of Tree body Rnds 16–18, above the lowest Snowy edging. Attach each center with four stitches into the body, leaving the wings free. Secure and bury both tails.
Attach one red Ornament on the front-right of Tree body Rnds 7–8 and the other red Ornament on the left side at Rnds 15–16. Attach one cream Ornament on the front-left at Rnds 17–18 and the other cream Ornament on the right side at Rnds 15–16. Keep every Ornament clear of the eyes, cheeks, smile and cream edgings. Place each Ornament's closed final round against the tree and sew through four evenly spaced stitches around that closure, catching the body fabric at each attachment. Secure and bury all four tails.
Check that all four Snowy edgings are fully attached, all six small decorations are secure, the Star panels are joined and the Trunk is centered. Weave in any remaining ends. Spread the cream scallops outward without stretching their attachment loops. Smooth the cone and flatten the Trunk bottom with your fingers. Measure the overall height and widest edging for human review; record the actual dimensions separately from this draft's intended targets.
Before each BLO round, check the previous round's count; the reserved attachment rings must contain exactly 18, 30, 42 and 60 loops.
Keep the snowy edging attachment and closing slip stitches loose enough to avoid drawing in the green cone.
Stuff the tip with several small pieces of filling rather than pushing one large piece through the body.
Use the embroidered face to establish the front before positioning the Star panels and decorations.
Keep the Trunk less firmly stuffed than the cone so its base remains flat.
Replace the red yarn with gold throughout both Bows and the two otherwise red Ornaments. Keep the cream Ornaments, cream edgings, green body and brown Trunk unchanged. Work all pieces and attachment placements exactly as written; gold yarn consumption increases.
Replace cream with green in all four Snowy edging entries. Keep the two cream Ornaments and every other component unchanged. The same scallop counts create four green tier edges; green yarn consumption increases and cream consumption decreases.
For the selected cotton yarn and polyester filling, gently spot-clean with cool water and a small amount of mild detergent, subject to the yarn label's instructions. Avoid twisting or stretching the star and edgings. Press out moisture with a towel, reshape the tree and let it air-dry completely. Do not hang it by the star.
This sewn, decorated tree is intended as a tabletop ornament. Care instructions should be revised if the selected fibers are substituted.
No. It is an original reference-inspired development design. The hidden construction, stitch counts, yarn specifications and dimensions of the pictured object were not established from the image.
No. This authoring draft requires human technical review and a crocheted sample before publication or claims about its finished fit and dimensions.
The design combines reserved-loop edgings, chain-based star points, embroidery, several small pieces and positional sewing. These techniques require more control than a basic single-piece beginner project.
No. Both eyes, the smile and cheeks are embroidered, and all four ornaments are crocheted. The written design uses no plastic eyes, beads or wire.
No. That height is an unmeasured design target for the authored DK cotton and hook selection. Yarn, tension, stuffing and star placement affect the result. Measure a completed sample to establish actual dimensions.
Use the exposed front loops of Tree body Rnds 5, 9, 13 and 19. They are left available by working the following rounds BLO.
Each scallop uses three attachment loops and produces two counted slip stitches plus three hdc, totaling five stitches. The four rings therefore end with 30, 50, 70 and 100 stitches, excluding attachment chains and closing joins.
Each of its five points contains one sc, one hdc, one dc and one anchoring slip stitch. The chains supporting those stitches are foundations and are not counted again.
Get free crochet patterns and maker tips from Hookfolk.
Login to save your progress
Create a free account or log in to save this pattern, track your progress, and access it on any device.
Have you tried this pattern?
Comments
Be the first to share your experience.