
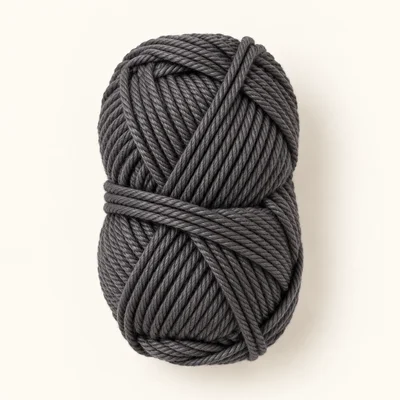
Yarn in charcoal gray
Worsted (4) · 100% cotton
Original design selection for the body, outer ears, feet, wing edging and attachment loop. Actual consumption is unestablished.
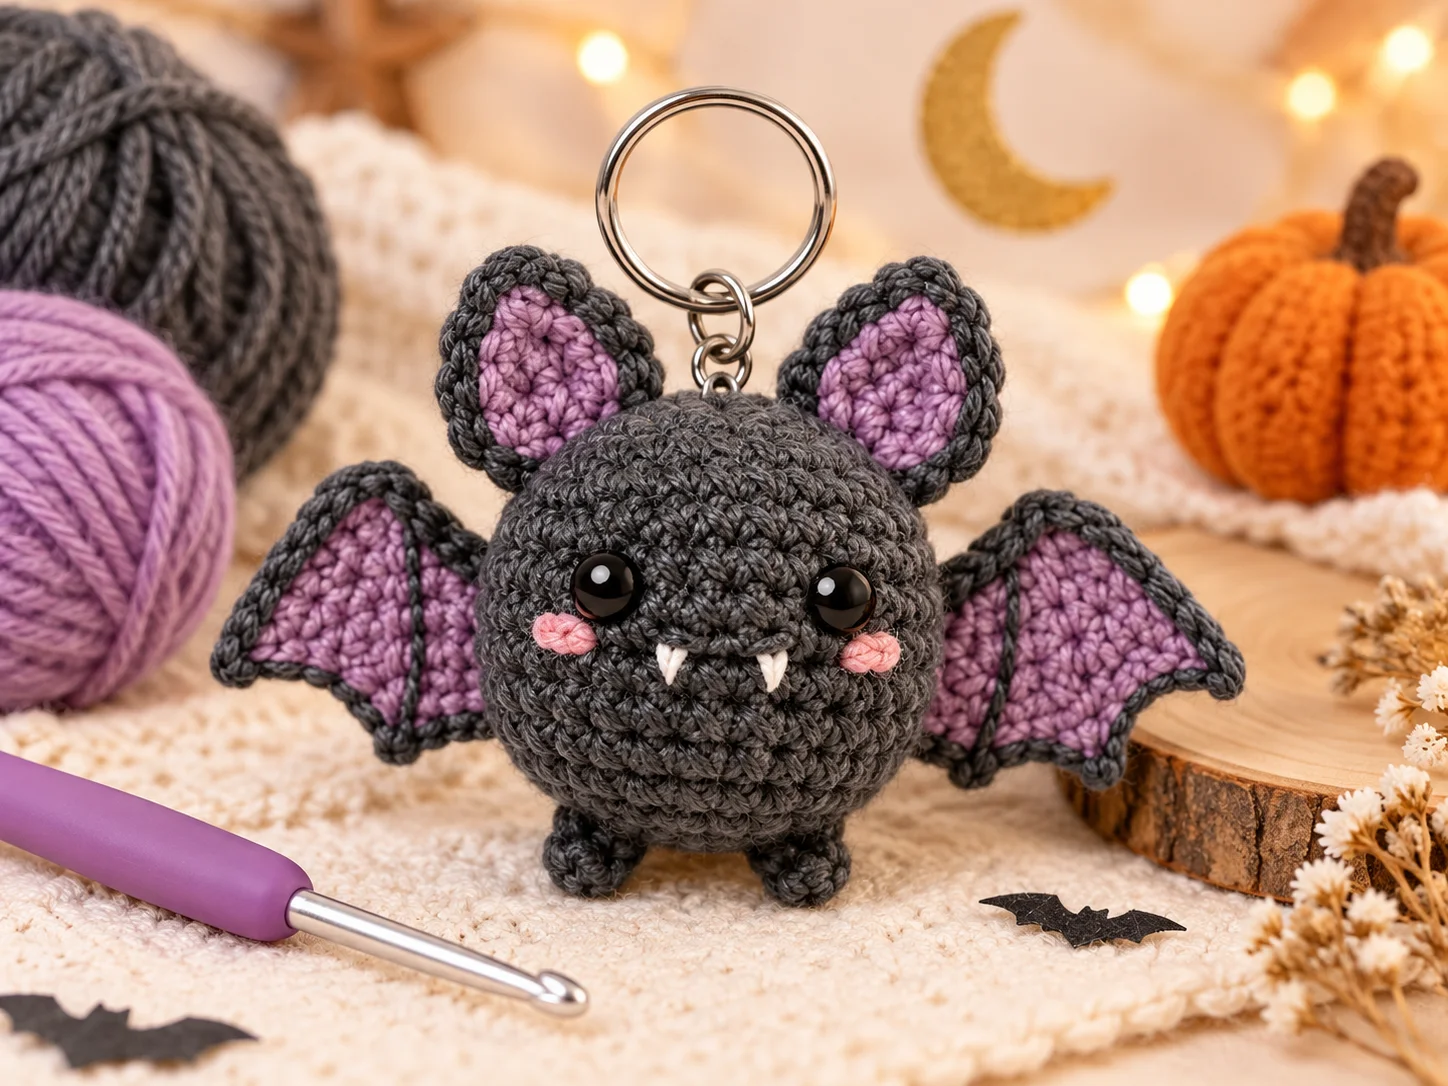
Amigurumi
A small stuffed bat with scalloped wings and pointed ears
An original HookFolk reference-inspired development draft for a charcoal bat keychain with lavender wings and inner ears, embroidered cheeks and fangs, and two tiny feet. The construction below is newly authored rather than recovered from the pictured tutorial. Yarn, hook and construction selections require human review and physical testing.
Nobody has made this one start to finish yet. Check your stitch counts as you go, and tell us if something does not add up.
Worked in 5 pieces
Body, Wing, Outer ear, Inner ear, Foot
Some sewing required
See Assembly & finishing.
Needs stuffing
Fiberfill stuffing
Gather these before you begin.
Worsted (4) · 100% cotton
Original design selection for the body, outer ears, feet, wing edging and attachment loop. Actual consumption is unestablished.
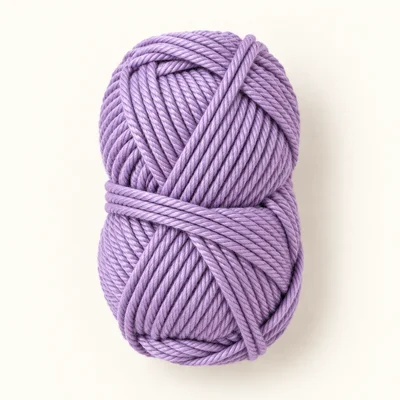
Worsted (4) · 100% cotton
Original design selection for both wings and inner ears. Actual consumption is unestablished.
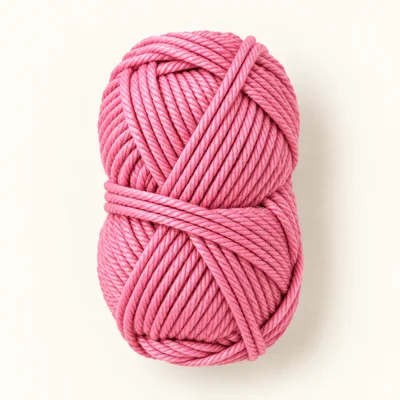
Worsted (4) · 100% cotton
Original design selection for embroidered cheeks; only short lengths are needed, but consumption has not been measured.
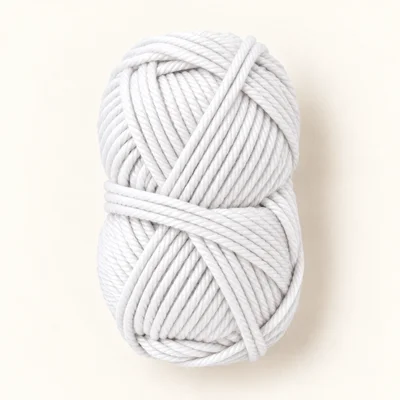
Worsted (4) · 100% cotton
Original design selection for two embroidered fangs.
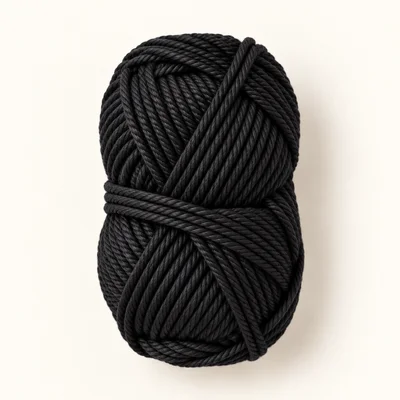
Worsted (4) · 100% cotton
Original design selection for embroidered eyes. The reference depicts raised eyes; this design uses embroidery.
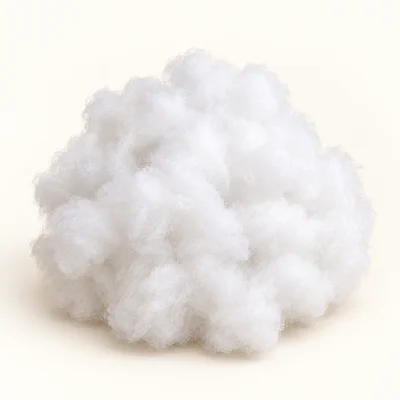
Polyester
Selected filling for the body and feet. Actual consumption is unestablished.
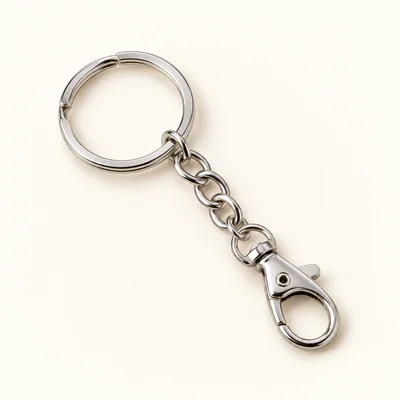
1 set
Original hardware selection. The opening connector must close fully around the reinforced yarn loop.
Worsted cotton replaced with DK cotton
The same stitch counts will usually produce a smaller body and narrower wings; exact dimensions and consumption remain unestablished.
Select a hook that produces dense fabric, remake all pieces in the same weight and check that the hardware remains proportionate.
Worsted cotton replaced with worsted acrylic
The pieces may be softer, stretchier and different in size even when the labeled weight matches.
Check the body fabric and the strength of the attachment loop on a prototype; follow the replacement yarn's care label.
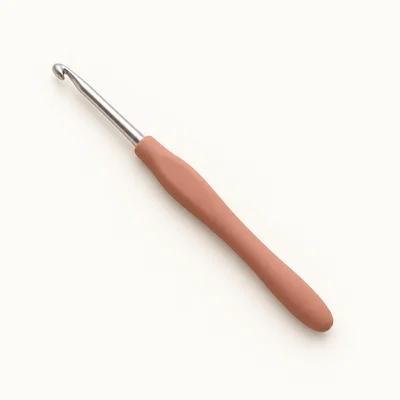
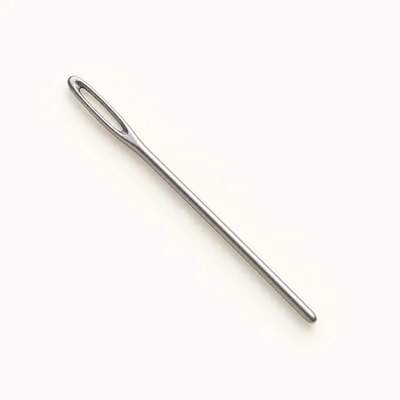
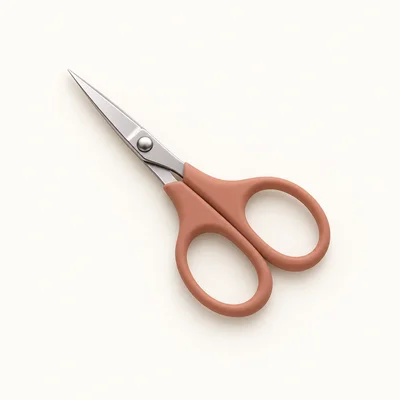
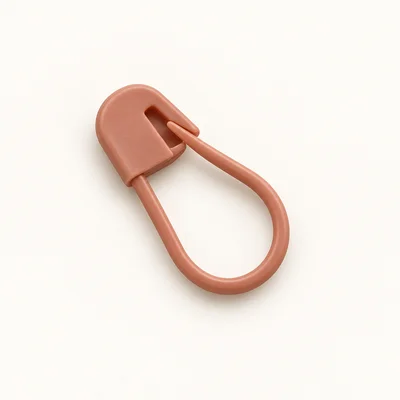
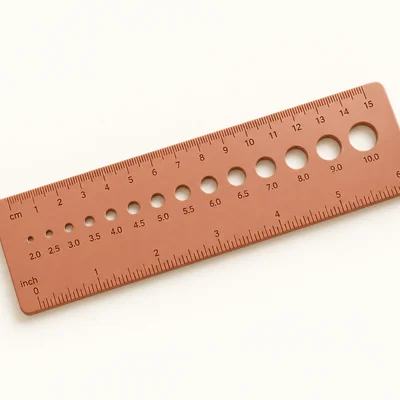
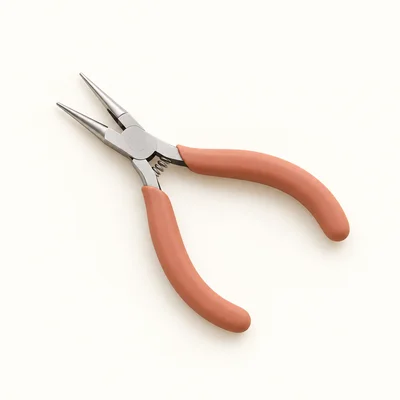
× 2
Check off each step to make sure you are ready. Preparation stays in this browser until you log in.
0 / 8 complete
Follow each step at your own pace.
Round 1 of 26
0%
Progress stays in this browser until you log in.
With charcoal gray, make a magic ring and work 6 sc into it. Pull the ring closed.
Stitch count: 6 stitches
Inc in each st around.
Stitch count: 12 stitches
(Sc 1, inc) × 6.
Stitch count: 18 stitches
(Sc 2, inc) × 6.
Stitch count: 24 stitches
(Sc 3, inc) × 6.
Stitch count: 30 stitches
(Sc 4, inc) × 6.
Stitch count: 36 stitches
Sc in each st around for 5 rounds.
Stitch count: 36 stitches
Tips
Each of the five rounds has 36 stitches. The body is open at the top.
(Sc 4, dec) × 6.
Stitch count: 30 stitches
Tips
Pause before stuffing. Embroider the face following the assembly instructions while the opening allows access to the inside.
(Sc 3, dec) × 6.
Stitch count: 24 stitches
(Sc 2, dec) × 6.
Stitch count: 18 stitches
Tips
Add stuffing through the opening. Fill evenly without stretching the stitch gaps.
(Sc 1, dec) × 6.
Stitch count: 12 stitches
Tips
Add a final small amount of stuffing if the top has a hollow area.
Dec × 6. Fasten off, leaving a 20 cm tail. Thread the tail through the front loops of the remaining 6 stitches and pull closed. Secure and bury the tail inside the body.
Stitch count: 6 stitches
With lavender, make a magic ring and work 3 sc into it. Pull the ring closed without joining.
Stitch count: 3 stitches
Ch 1. Turn. Inc in each st across.
Stitch count: 6 stitches
Ch 1. Turn. (Sc 1, inc) × 3.
Stitch count: 9 stitches
Ch 1. Turn. (Sc 2, inc) × 3.
Stitch count: 12 stitches
Ch 1. Turn. (Sl st in the next st, work hdc 1, dc 1 and hdc 1 together in the next st, sl st in the next st) × 4. Fasten off lavender and weave in both lavender ends.
Stitch count: 20 stitches
Tips
There are four scallops. Each consumes 3 stitches from Row 4 and produces 5 edge stitches.
Turn. Attach charcoal gray with an uncounted sl st in the first stitch of Row 5. Ch 1. Sc in that same st and in each of the remaining 19 stitches across. Fasten off, leaving a 25 cm sewing tail. This border covers the scalloped edge only.
Stitch count: 20 stitches
Tips
The completed wing has a charcoal scalloped edge and two unbordered radial sides. Make the second Wing through Row 6.
With charcoal gray, ch 6. Sc in the 2nd ch from the hook and in each remaining ch across.
Stitch count: 5 stitches
Ch 1. Turn. Dec, sc 1, dec.
Stitch count: 3 stitches
Ch 1. Turn. Skip the first st, sc in the next st and leave the last st unworked. Fasten off, leaving a 25 cm sewing tail.
Stitch count: 1 stitches
Tips
The ear tapers from a five-stitch base to a one-stitch point. Make the second Outer ear through Row 3.
With lavender, ch 4. Sc in the 2nd ch from the hook and in each remaining ch across.
Stitch count: 3 stitches
Ch 1. Turn. Skip the first st, sc in the next st and leave the last st unworked. Fasten off, leaving a 20 cm sewing tail.
Stitch count: 1 stitches
Tips
Make the second Inner ear through Row 2. Each inset is smaller than its Outer ear.
With charcoal gray, make a magic ring and work 6 sc into it. Pull the ring closed.
Stitch count: 6 stitches
Sc in each st around.
Stitch count: 6 stitches
Tips
Secure the starting tail and add a tiny pinch of stuffing.
Dec × 3. Fasten off, leaving a 25 cm sewing tail. Thread the tail through the front loops of the remaining 3 stitches and pull closed. Secure the closure without cutting the sewing tail.
Stitch count: 3 stitches
Tips
Make the second Foot through Rnd 3.
With charcoal gray, make a magic ring and work 6 sc into it. Pull the ring closed.
Stitch count: 6 stitches
After Body Rnd 12, choose the front opposite the start-of-round marker. Using black yarn, embroider two eyes centered between Body Rnds 9 and 10, leaving five body stitches between their centers. Make each eye with three parallel short vertical stitches spanning one round and one stitch in width. With pink, add two parallel horizontal stitches over one body stitch below and just outside each eye, between Body Rnds 8 and 9. With white, place two V-shaped fangs below the space between the eyes: for each fang, bring the yarn out at Body Rnd 8, insert one round lower and half a stitch toward the center, bring it out at the other upper corner one stitch from the first, and insert again at the same lower point. Leave one body stitch between the two fangs. Secure every embroidery end inside the open body. Resume Body Rnd 13.
Place one Inner ear on the front of each Outer ear with both points facing upward. Center the three-stitch lavender base on the five-stitch charcoal base; keep a visible charcoal margin above the lavender point. Using each lavender tail, sew around the inset with small stitches that catch the front of the charcoal fabric without drawing it tight. Secure and weave in the lavender tails. Keep the charcoal sewing tails available.
With the face upright, place the two ear bases on the upper left and upper right of the Body, across Body Rnds 13–15. Leave approximately three body stitches between their inner base corners. Face both lavender insets forward and tilt the points slightly outward. Sew each five-stitch foundation edge to the body with its charcoal tail, then make a second pass through the same attachment line. Secure and bury both tails.
Place one Wing on each side of the Body across Body Rnds 7–10. For each wing, position the magic-ring center against the body and sew one unbordered radial side, from the ring center to the adjacent Row 4 corner, vertically along the body side. Leave the opposite radial side free as the upper wing edge, extending outward. Orient the charcoal scalloped edge outward and downward. Mirror the second wing by turning its opposite face forward. Use the charcoal tails to make two passes along each attachment line; do not sew the scalloped edge to the body. Secure and bury the tails.
Place the closed ends of the two Feet against the lower front of the Body across Body Rnds 2–4, with approximately two body stitches between them. Point the magic-ring ends downward and slightly forward. Sew around each closed end using its retained tail. Secure and bury both tails.
Cut a 45 cm length of charcoal yarn. Bring it through a firm stitch on one side of the Body top closure and through a firm stitch on the opposite side, spanning two body stitches. Leave a loop projecting approximately 8 mm above the top. Follow this same route twice more to form three parallel strands in the loop. Tie the ends together securely against the body, pass each end through the body in a different direction and trim flush. The loop must sit between the ears without pulling open the closure.
Use two pliers to twist the opening connector sideways, thread it through all three strands of the attachment loop, and twist it closed until the ends meet without a gap. Connect the short chain and split ring according to the hardware set. Check every sewn component and gently pull the ring to check the attachment. Trim exposed ends, shape the ears and wings by hand, and measure the completed prototype against the intended size targets.
Keep the wing edging loose enough to preserve the scallops; tight charcoal stitches can curl the lavender fabric.
Lay both wings beside the face before sewing so their upper free edges and scalloped lower edges mirror each other.
Use small embroidery stitches and keep the inside knots clear of the body opening.
Do not use the body closure tail alone as the keychain attachment; the separate loop crosses firm stitches on both sides.
Replace lavender with orange of the same selected weight in both Wings and both Inner ears. Keep every stitch count, charcoal border and assembly placement unchanged.
Replace the split-ring hardware set with one swivel clasp set containing a short chain and opening connector. Use the same three-strand attachment loop and connector-closing instructions.
For the selected cotton version, spot-clean the crochet with mild detergent and cool water. Keep metal hardware dry and allow the stuffed body to air-dry fully. Follow the actual yarn and hardware manufacturers' instructions.
This design contains small detachable hardware and is intended as an accessory rather than a toy. Inspect the loop and sewn attachments during use.
No. It is an original HookFolk development design inspired by the visible charcoal body, lavender wings and ears, small feet and fang details.
No. It requires human technical review and a physical prototype before publication or production.
No. The dimensions are unmeasured targets. Tension and yarn construction affect the result; measure the prototype and assess the targets.
This design uses embroidered eyes, worked after Body Rnd 12 and before stuffing. It does not require safety eyes.
Nine: one Body, two Wings, two Outer ears, two Inner ears and two Feet. The attachment loop is added directly to the completed body.
No. Both wings, both layered ears and both feet are sewn onto the body.
Get free crochet patterns and maker tips from Hookfolk.
Login to save your progress
Create a free account or log in to save this pattern, track your progress, and access it on any device.
Have you tried this pattern?
Comments
Be the first to share your experience.