

Yarn in tan
Sport (2) · 100% cotton
Authored selection for the head, body, outer ears, upper arms, and upper legs. Consumption is unmeasured.
Amigurumi
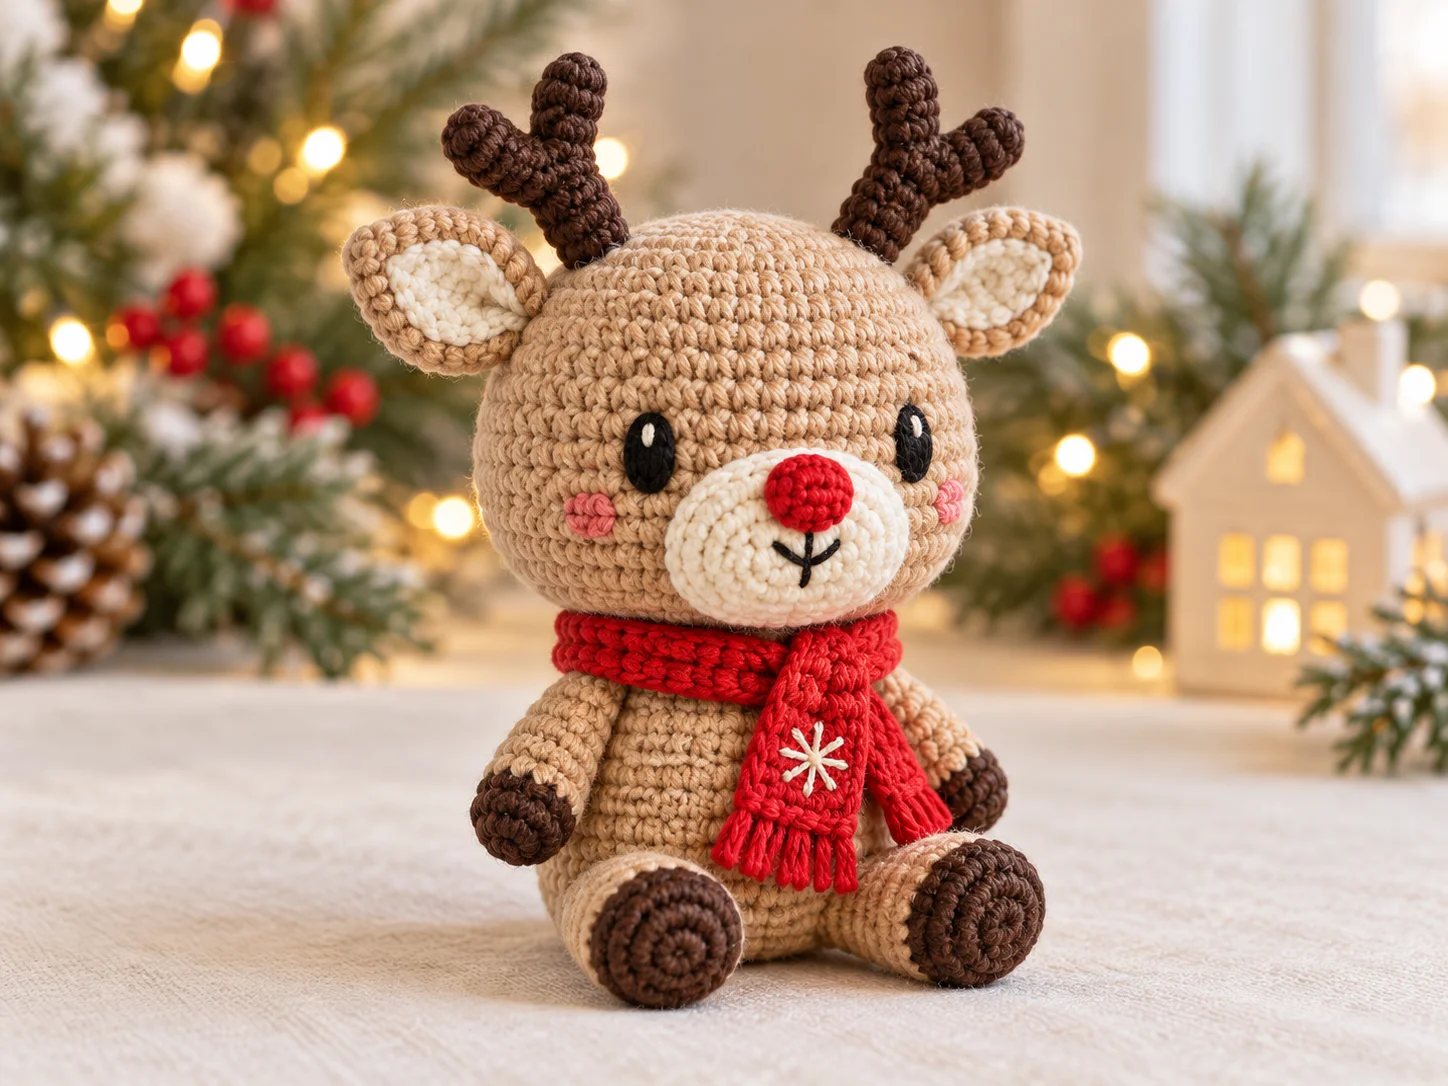
A palm-sized Christmas amigurumi with branched antlers and a bright red nose.
An original reference-inspired crochet reindeer with a red nose, branched antlers, and a red scarf. Materials and construction are design choices; human review and physical testing are required.
Nobody has made this one start to finish yet. Check your stitch counts as you go, and tell us if something does not add up.
Worked in 11 pieces
Head, Body, Arm, Leg, Outer ear, Ear insert, Muzzle, Nose, Antler stem, Antler branch, Scarf
Some sewing required
See Assembly & finishing.
Needs stuffing
Toy stuffing
Gather these before you begin.
Sport (2) · 100% cotton
Authored selection for the head, body, outer ears, upper arms, and upper legs. Consumption is unmeasured.

Sport (2) · 100% cotton
Authored selection in the same yarn range as tan for the hooves, two antler stems, and four antler branches. Consumption is unmeasured.
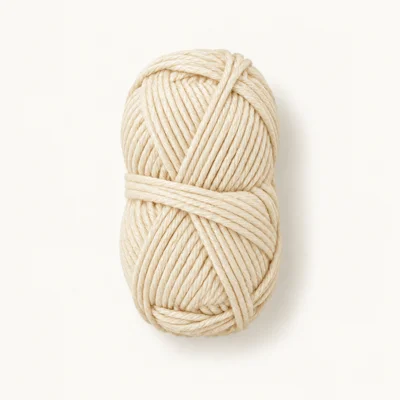
Sport (2) · 100% cotton
Authored selection for the muzzle, two ear inserts, and scarf snowflake embroidery. Consumption is unmeasured.
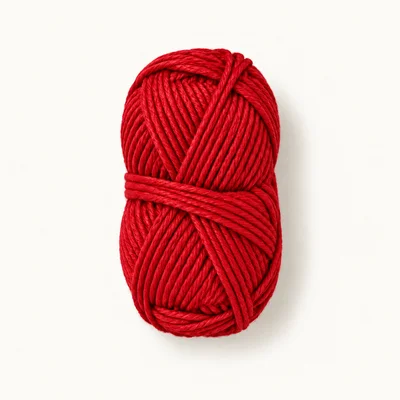
Sport (2) · 100% cotton
Authored selection for the nose, scarf, and twelve short fringe strands. Consumption is unmeasured.
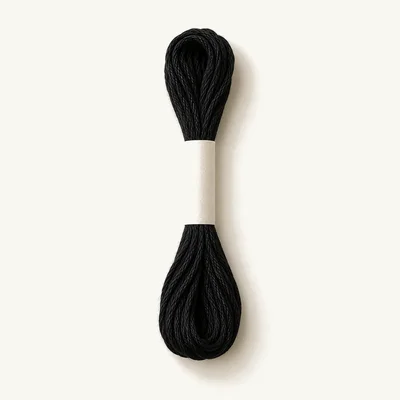
100% cotton
Authored selection for two embroidered eyes and the mouth; use three strands together. No eye hardware is required.
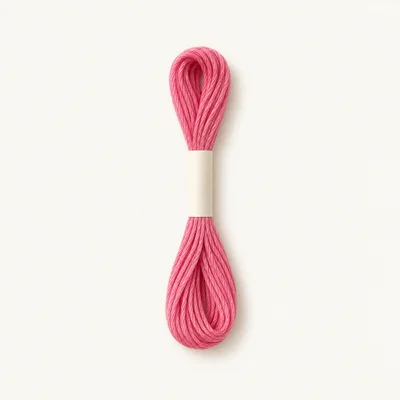
100% cotton
Authored selection for two embroidered cheeks; use three strands together.
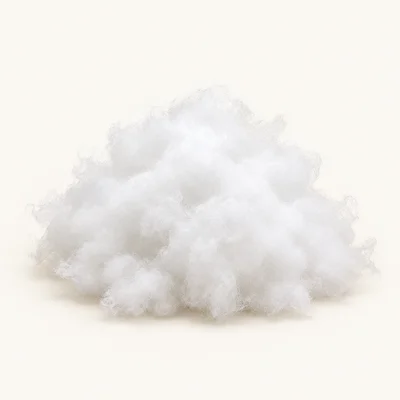
Polyester
Authored selection for the head, body, lower arms, and legs. Leave ears, muzzle, nose, and antlers unstuffed.
A different sport-weight yarn fiber
Changes stitch definition, firmness, care requirements, and potentially finished size and consumption.
Keep every crocheted color the same weight. Choose a hook that produces dense fabric and review the sample's dimensions and stability.
DK-weight cotton
Produces a larger reindeer and changes yarn consumption when paired with a suitable hook.
Retain the stitch counts, choose a hook for dense fabric, and treat the height as a new target requiring measurement.
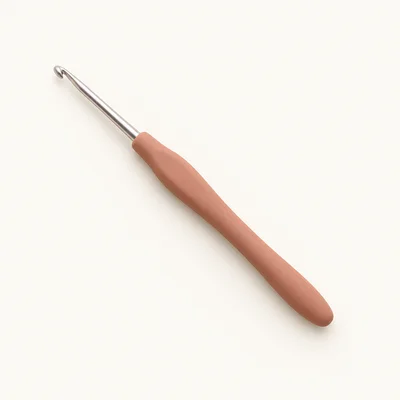
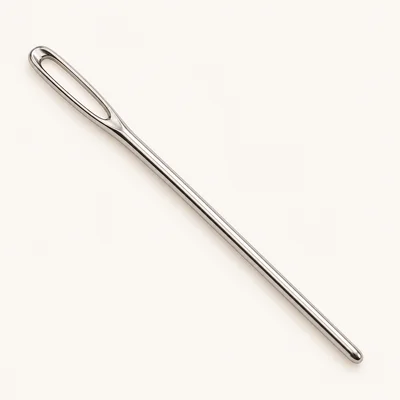
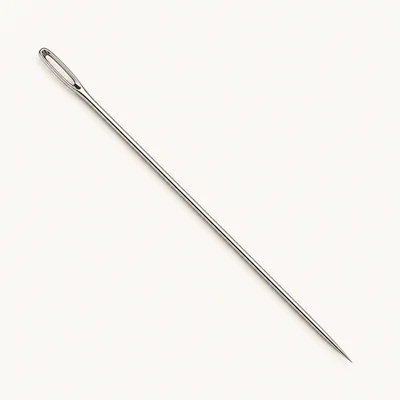
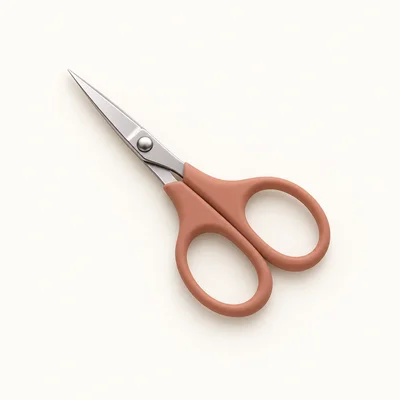
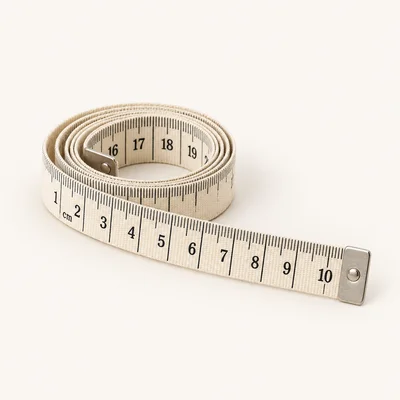
Check off each step to make sure you are ready. Preparation stays in this browser until you log in.
0 / 8 complete
Follow each step at your own pace.
Round 1 of 53
0%
Progress stays in this browser until you log in.
With tan, make a magic ring and work 6 sc into it. Tighten the ring.
Stitch count: 6 stitches
Inc in each st around.
Stitch count: 12 stitches
(Sc 1, inc) × 6.
Stitch count: 18 stitches
(Sc 2, inc) × 6.
Stitch count: 24 stitches
(Sc 3, inc) × 6.
Stitch count: 30 stitches
(Sc 4, inc) × 6.
Stitch count: 36 stitches
(Sc 5, inc) × 6.
Stitch count: 42 stitches
Sc in each st around for 7 rounds.
Stitch count: 42 stitches
Tips
The head has a seven-round straight section; no eye hardware is inserted.
(Sc 5, dec) × 6.
Stitch count: 36 stitches
(Sc 4, dec) × 6.
Stitch count: 30 stitches
(Sc 3, dec) × 6. Begin stuffing the head.
Stitch count: 24 stitches
(Sc 2, dec) × 6.
Stitch count: 18 stitches
(Sc 1, dec) × 6. Finish stuffing without stretching the fabric.
Stitch count: 12 stitches
Dec × 6.
Stitch count: 6 stitches
Fasten off. Thread the tail through the front loops of all 6 remaining stitches and pull the opening closed. Secure and weave in the tail.
Stitch count: 6 stitches
Tips
The head is stuffed and completely closed. The six final stitches are drawn together, not a new round.
With tan, make a magic ring and work 6 sc into it. Tighten the ring.
Stitch count: 6 stitches
Inc in each st around.
Stitch count: 12 stitches
(Sc 1, inc) × 6.
Stitch count: 18 stitches
(Sc 2, inc) × 6.
Stitch count: 24 stitches
(Sc 3, inc) × 6.
Stitch count: 30 stitches
Sc in each st around for 4 rounds.
Stitch count: 30 stitches
(Sc 3, dec) × 6.
Stitch count: 24 stitches
(Sc 2, dec) × 6. Stuff the lower body firmly without stretching the fabric.
Stitch count: 18 stitches
(Sc 1, dec) × 6. Fasten off, leaving a 20 cm sewing tail. Finish stuffing; leave the 12-stitch neck opening unclosed.
Stitch count: 12 stitches
Tips
The stuffed body has an open neck for sewing beneath the closed head.
With dark brown, make a magic ring and work 6 sc into it. Tighten the ring.
Stitch count: 6 stitches
(Sc 1, inc) × 3.
Stitch count: 9 stitches
Sc in each st around. Change to tan on the final yarn-over of the last stitch.
Stitch count: 9 stitches
With tan, sc in each st around for 4 rounds. Lightly stuff only the dark brown hand and the lower tan section.
Stitch count: 9 stitches
(Sc 1, dec) × 3.
Stitch count: 6 stitches
Flatten the opening with 3 stitches on each side. Work 3 sc through both layers, pairing one front stitch with one back stitch for each sc. Fasten off, leaving a 20 cm sewing tail.
Stitch count: 3 stitches
Tips
Each arm has a three-stitch closed attachment edge and a flexible unstuffed upper end.
With dark brown, make a magic ring and work 6 sc into it. Tighten the ring.
Stitch count: 6 stitches
Inc in each st around.
Stitch count: 12 stitches
Sc in each st around. Change to tan on the final yarn-over of the last stitch.
Stitch count: 12 stitches
With tan, sc in each st around for 3 rounds. Stuff the foot and lower leg, leaving the attachment end unstuffed.
Stitch count: 12 stitches
Dec × 6.
Stitch count: 6 stitches
Flatten the opening with 3 stitches on each side. Work 3 sc through both layers, pairing one front stitch with one back stitch for each sc. Fasten off, leaving a 20 cm sewing tail.
Stitch count: 3 stitches
With tan, make a magic ring and work 6 sc into it. Tighten the ring.
Stitch count: 6 stitches
Inc in each st around.
Stitch count: 12 stitches
Sc in each st around.
Stitch count: 12 stitches
Dec × 6. Fasten off, leaving a 20 cm sewing tail. Leave unstuffed and keep the base open until the insert is sewn on.
Stitch count: 6 stitches
With cream, make a magic ring and work 6 sc into it. Tighten the ring.
Stitch count: 6 stitches
(Sc 1, inc) × 3. Fasten off, leaving a 20 cm sewing tail.
Stitch count: 9 stitches
With cream, make a magic ring and work 6 sc into it. Tighten the ring.
Stitch count: 6 stitches
Inc in each st around.
Stitch count: 12 stitches
(Sc 1, inc) × 6.
Stitch count: 18 stitches
Sc in each st around. Fasten off, leaving a 20 cm sewing tail. Leave the shallow cup unstuffed and open.
Stitch count: 18 stitches
With red, make a magic ring and work 6 sc into it. Tighten the ring. Fasten off, leaving a 20 cm sewing tail; leave unstuffed.
Stitch count: 6 stitches
With dark brown, make a magic ring and work 6 sc into it. Tighten the ring to close the tip.
Stitch count: 6 stitches
Sc in each st around for 4 rounds. Fasten off, leaving a 20 cm sewing tail. Leave the stem unstuffed with its six-stitch base open.
Stitch count: 6 stitches
With dark brown, make a magic ring and work 4 sc into it. Tighten the ring to close the tip.
Stitch count: 4 stitches
Sc in each st around. Fasten off, leaving a 20 cm sewing tail. Leave the branch unstuffed with its four-stitch base open.
Stitch count: 4 stitches
With red, ch 46. Sc in the 2nd ch from the hook and in each remaining ch across.
Stitch count: 45 stitches
Tips
The skipped chain does not count; the row contains 45 sc.
Ch 1. Turn. Sc in each of the 45 stitches across. Work this sequence twice in total, once for Row 2 and once for Row 3. Fasten off, leaving a 20 cm tail for tacking.
Stitch count: 45 stitches
With tan, make a magic ring and work 6 sc into it. Tighten the ring.
Stitch count: 6 stitches
Choose the front of the Body and keep its round-start line at the back. Center the closed underside of the Head over the Body's 12-stitch neck opening. Using the Body tail, sew each neck stitch to the Head around its physical Rnds 18–19. Make a second pass around this seam and weave in the tail. Keep the head upright and the seam enclosed.
Sew each Leg's three-stitch flattened top to the lower front of the Body across its physical Rnds 3–5. Position the legs symmetrically with their brown feet projecting forward and a two-stitch gap between their inner edges. Sew each Arm's three-stitch flattened top to an opposite side of the Body across physical Rnds 10–11. Let the brown hands hang toward Body Rnds 6–7. Secure all four attachment seams and weave in their tails.
Place one cream Ear insert on the front of each tan Outer ear with its center about one physical round below the ear tip. Whipstitch the insert's nine-stitch edge to the outer ear without sewing the two outer-ear layers together. Pinch each outer ear's open six-stitch base flat into three pairs. Sew those pairs closed, then sew each three-pair base to an opposite side of the Head across physical Rnds 7–8, cream inserts facing forward and tips angled outward. Weave in all ear tails.
For each Antler stem, sew the open four-stitch base of one Antler branch to one side across stem physical Rnds 2–3, with its closed tip pointing outward and toward the stem tip. Sew a second branch on the opposite side across stem physical Rnds 3–4, also pointing upward. Use two stems and all four branches. Mirror the completed antlers. Sew each stem's six-stitch open base to the Head across physical Rnds 4–6, directly inward from its ear and slightly behind the ear's front surface. Secure the bases with a second sewing pass and weave in all six component tails.
Center the Muzzle on the front of the Head with its center at physical Head Rnd 13 and its upper edge near Head Rnd 11. Sew all 18 stitches of the muzzle edge to the head, keeping it unstuffed and allowing its shallow cup to project slightly. Sew the Nose's six-stitch perimeter to the upper center of the cream muzzle, with the magic-ring center facing outward. Weave in both tails.
Using three strands of black thread, place the eye centers between physical Head Rnds 10–11 with ten stitch intervals between centers, symmetrically beside the upper muzzle. For each eye, fill a small oval three stitch columns wide and two round intervals high with six closely spaced vertical satin stitches. Add one short cream straight stitch at the upper outer edge of each eye as a highlight. With black thread, embroider a vertical line from the bottom of the Nose to the muzzle center, then two diagonal straight stitches, each one stitch wide and one round high, forming a small inverted Y. Using three strands of pink thread, work three horizontal straight stitches spanning two head stitches below the outer edge of each eye at Head Rnds 12–13. Secure thread ends beneath the muzzle edge or another sewn seam.
Using cream yarn, embroider a six-ray snowflake on one scarf end: place its center four stitch columns inward from that end on the middle row, then make six straight stitches radiating one stitch column or one row interval from the center. Cut twelve red strands, each 6 cm long. At each short scarf edge, attach three fringe bundles, one through each row end: use two strands per bundle, fold them in half, pull the fold through the edge, and pull the four loose ends through that loop. Tighten and trim the fringe evenly. Wrap the scarf once around the neck without compressing it; cross the decorated end over the plain end at the front. Use the scarf tail to tack the crossing to the upper Body with two small stitches and weave in the tail.
Check both head seams, all limb and ear attachments, both antler bases, all four branch seams, the muzzle, nose, and scarf tacking. Confirm the head is closed, no stuffing shows, embroidered ends are secure, and every sewing tail is woven in. Measure the seated height from the bottom of the feet to the highest antler tip and record it during human review; the stated target is not a tested result.
Keep the lower body firmly filled and the upper limbs lightly filled so the sewn attachments remain flexible.
Position the ears and antlers as mirrored pairs before sewing; both branch tips should point upward.
Keep embroidery tension light enough to avoid pulling the cheeks inward.
Omit only the cream snowflake embroidery from scarf finishing. Keep the three-row scarf, twelve red fringe strands, and attachment stitches unchanged.
Work the Nose's six-stitch magic ring in dark brown instead of red. Attach and embroider the face exactly as written; retain red yarn for the scarf.
For the selected cotton yarn and polyester stuffing, follow the suppliers' care labels. Spot-clean with cool water and a small amount of mild detergent, avoiding vigorous rubbing of the embroidery. Blot and reshape; air-dry fully on a flat surface. Do not hang the wet decoration from its ears, antlers, or scarf.
No. It is an original reference-inspired development design. Hidden construction, source instructions, and exact materials are not recoverable from the photograph.
No. It requires human technical review and a complete crochet sample before any tested fit, size, consumption, or making-time claims can be made.
That is an unmeasured design target. The 2.5 mm hook and sport-weight cotton are authored selections; tension and yarn construction affect size. Measure the completed sample to confirm the result.
Both eyes are embroidered with three strands of black cotton thread. Each is a small satin-stitched oval with a cream highlight; the design uses no eye hardware.
Small continuous-round pieces, color changes, flattened limb joins, antler branch assembly, symmetrical sewing, embroidery, and scarf finishing require control beyond basic single crochet.
Consumption and making time are not established. Use matching sport-weight yarns for all four yarn colors and record actual usage and time during development testing.
Get free crochet patterns and maker tips from Hookfolk.
Login to save your progress
Create a free account or log in to save this pattern, track your progress, and access it on any device.
Have you tried this pattern?
Comments
Be the first to share your experience.