

Worsted weight yarn — orange
1 color
Worsted (4)
For the pumpkin body and pumpkin hat.
Amigurumi
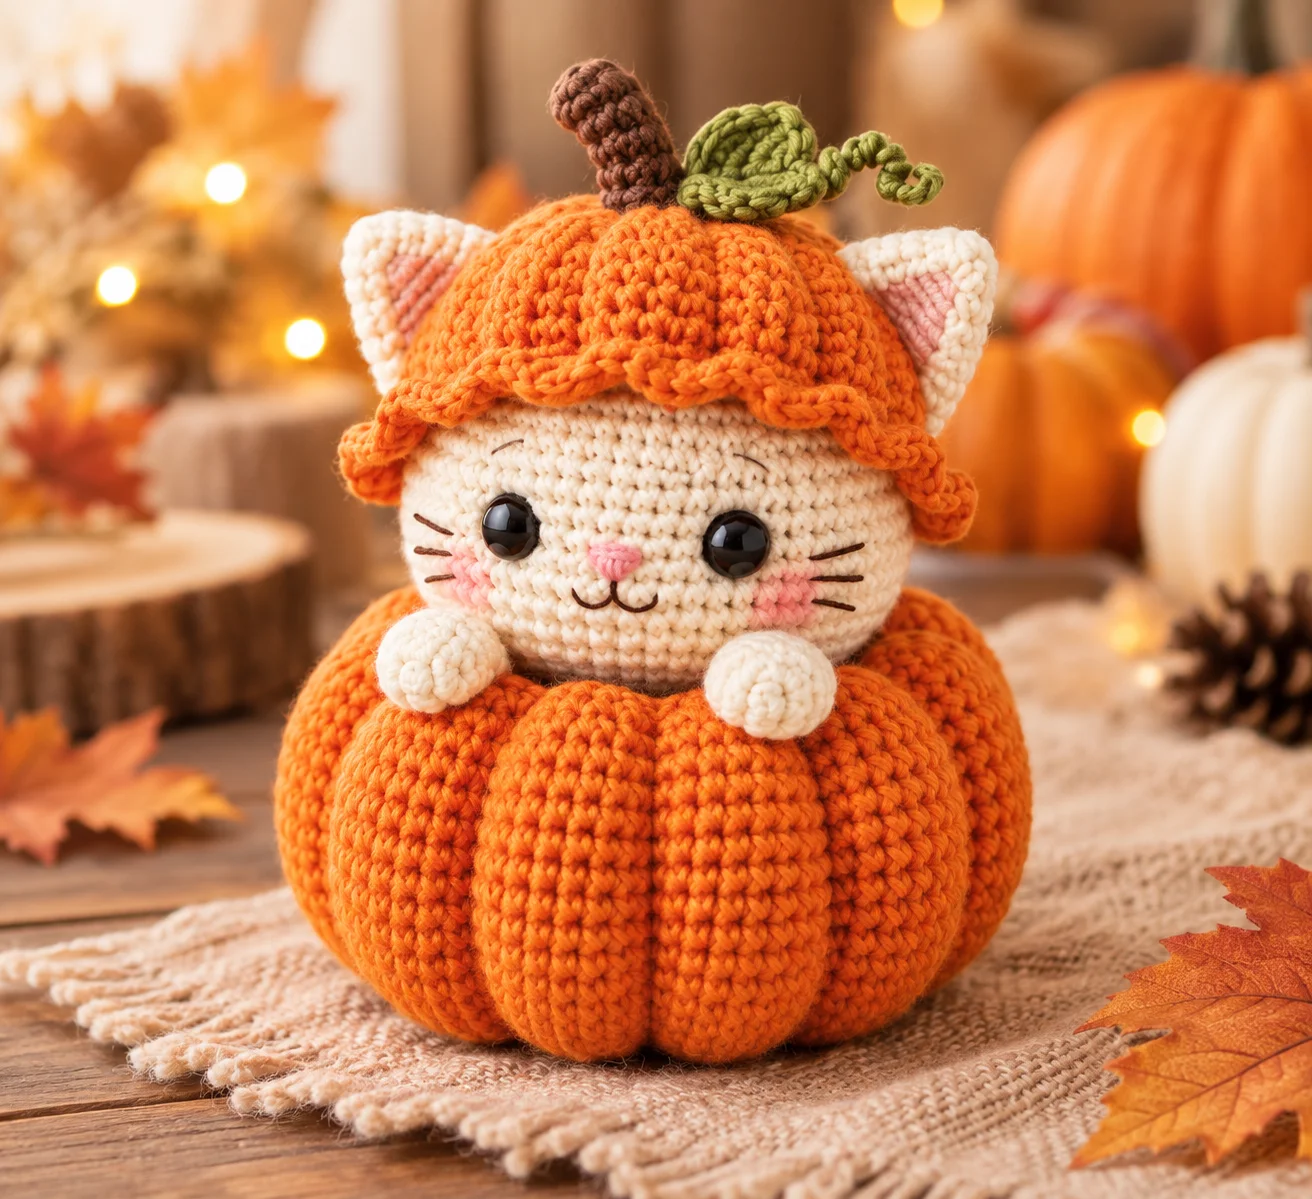
A small crochet cat nestled inside a pumpkin for a cozy fall amigurumi project.
Make a small Pumpkin Cat amigurumi with a cream cat, orange pumpkin body and hat, pointed ears, front paws, embroidered facial details, and a stem-and-leaf accent.
Nobody has made this one start to finish yet. Check your stitch counts as you go, and tell us if something does not add up.
Worked in 10 pieces
head, body, paws, ears, pumpkin-body, pumpkin-hat, stem, leaf, face, assembly
Some sewing required
See Assembly & finishing.
Needs stuffing
Polyester stuffing
Gather these before you begin.
Required (7)Optional (1)
1 color
Worsted (4)
For the pumpkin body and pumpkin hat.
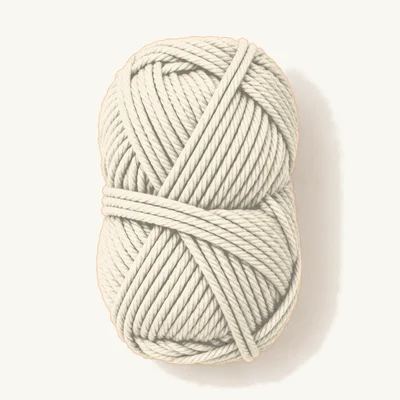
1 color
Worsted (4)
For the cat head, body, paws, and ears.
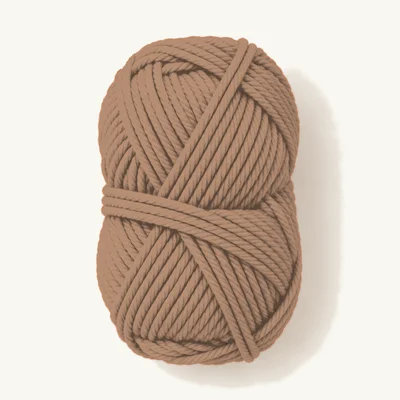
1 color
Worsted (4)
For the stem.
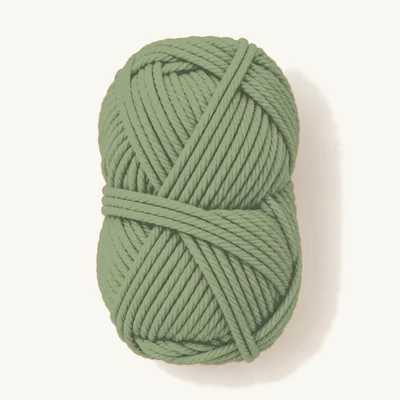
1 color
Worsted (4)
For the leaf.
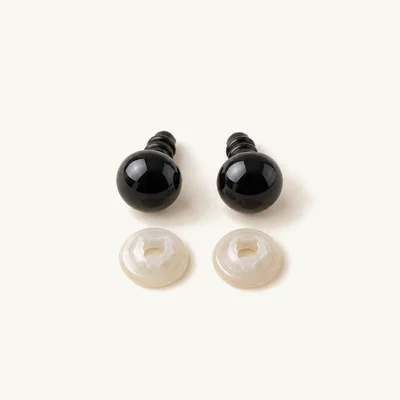
2 eyes
Place between Rnds 7–9 of the head.
1 amount
Stuff the head and body; stuff the pumpkin lightly.
1 length
For whiskers and eyebrows.
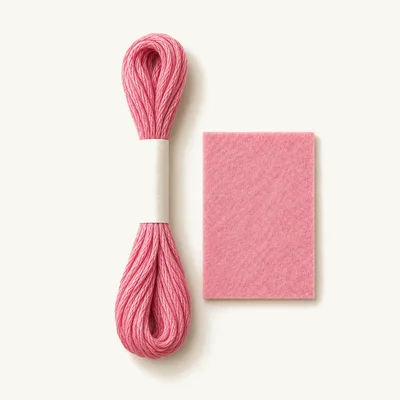
1 piece
For the small pink nose.
Safety eyes 10 mm
Embroidered eyes can replace the safety eyes for a non-removable finish.
The expression and eye appearance will differ from the reference.
Polyester stuffing
A comparable soft fiberfill may be substituted.
Density and final shape may vary slightly.
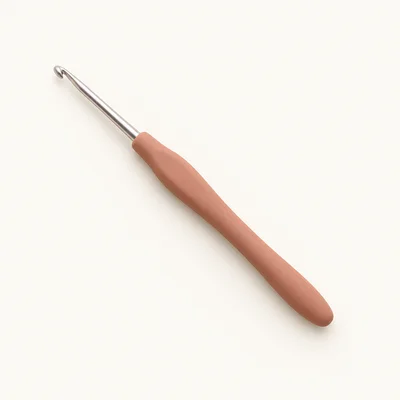
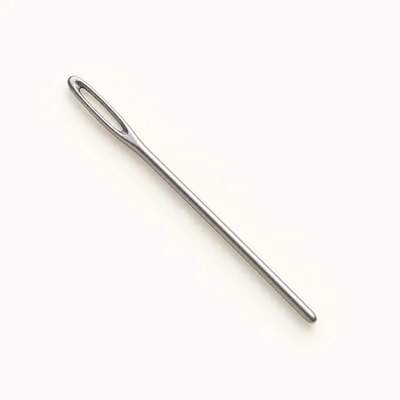
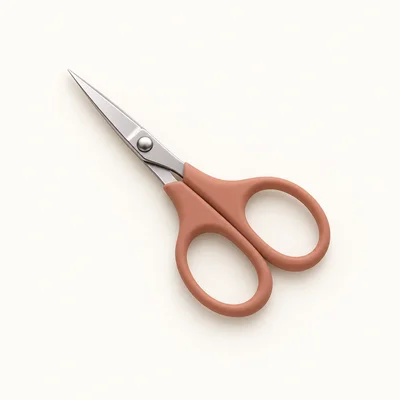
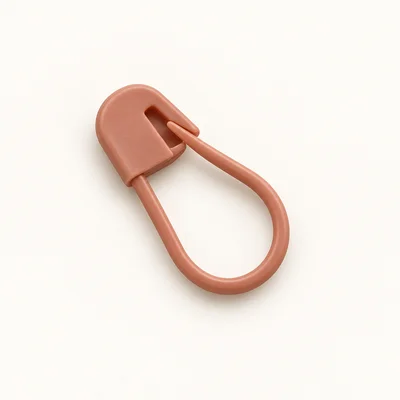
Check off each step to make sure you are ready. Preparation stays in this browser until you log in.
0 / 5 complete
Follow each step at your own pace.
Round 1 of 28
0%
Progress stays in this browser until you log in.
Make a magic ring and work 6 sc into the ring.
Stitch count: 6 stitches
Tips
6 sc.
Inc in each stitch around.
Stitch count: 12 stitches
Tips
12 sc.
(Sc, inc) around 6 times.
Stitch count: 18 stitches
Tips
18 sc.
(3 sc, inc) around 6 times.
Stitch count: 24 stitches
Tips
24 sc.
Sc around for 6 rounds.
Stitch count: 24 stitches
Tips
24 sc at the end of Rnd 10. Stuff firmly.
Make a magic ring and work 6 sc into the ring.
Stitch count: 6 stitches
Tips
6 sc.
Inc in each stitch around.
Stitch count: 12 stitches
Tips
12 sc.
(Sc, inc) around 6 times.
Stitch count: 18 stitches
Tips
18 sc.
Sc around for 4 rounds.
Stitch count: 18 stitches
Tips
18 sc at the end of Rnd 7. Stuff the body.
For each paw, make a magic ring and work 6 sc into the ring.
Stitch count: 6 stitches
Tips
6 sc per paw.
Sc around for 2 rounds. Fold the paw and sc 3 stitches across the opening to close; leave a sewing tail.
Stitch count: 6 stitches
Tips
6 sc per paw before the 3-stitch closure.
For each ear, make a magic ring and work 4 sc into the ring.
Stitch count: 4 stitches
Tips
4 sc per ear.
Inc in each stitch around.
Stitch count: 8 stitches
Tips
8 sc per ear.
(Sc, inc) around 4 times. Fold slightly and sl st the opening closed.
Stitch count: 12 stitches
Tips
12 sc per ear before closing.
Make a magic ring and work 24 sc into the ring.
Stitch count: 24 stitches
Tips
24 sc.
(3 sc, inc) around 6 times.
Stitch count: 30 stitches
Tips
30 sc.
Sc around for 4 rounds.
Stitch count: 30 stitches
Tips
30 sc at the end of Rnd 6.
Working in the back loops only, (3 sc, dec) around 6 times.
Stitch count: 24 stitches
Tips
24 sc. Stuff lightly and keep the top opening available for the cat.
Make a magic ring and work 6 sc into the ring.
Stitch count: 6 stitches
Tips
6 sc.
Inc in each stitch around.
Stitch count: 12 stitches
Tips
12 sc.
(Sc, inc) around 6 times.
Stitch count: 18 stitches
Tips
18 sc.
(2 sc, inc) around 6 times.
Stitch count: 24 stitches
Tips
24 sc.
Sc around.
Stitch count: 24 stitches
Tips
24 sc.
Repeat (sc, ch 2, sl st in the same stitch) around to form the ruffled edge.
Stitch count: 24 stitches
Tips
24 base sc stitches with a chain-2 ruffle.
With light brown yarn, ch 6. Starting in the 2nd ch from the hook, work 4 sc, then sl st in the final chain. Fasten off, leaving a sewing tail.
Stitch count: 5 stitches
Tips
One short stem.
With sage green yarn, ch 7. The reference specifies sc, hdc, dc, hdc, sc, sl st in the chain sequence to form the leaf. Because the photographed wording is ambiguous, work those stitches sequentially along the chain rather than stacking them into one chain space. Fasten off, leaving a sewing tail.
Stitch count: 6 stitches
Tips
One small leaf.
Place the 10 mm safety eyes between Rnds 7–9 of the head. Embroider the whiskers and eyebrows with black embroidery thread and add the small pink nose.
Tips
Check facial symmetry before finalizing the details.
Sew the ears to the head. Sew the head to the body. Attach the paws to the front of the body. Place the assembled cat inside the pumpkin body. Position the pumpkin hat over the opening and attach it as needed. Sew the stem and leaf to the top of the hat.
Tips
The cat sits securely inside the pumpkin with the face visible.
Make a magic ring and work 6 sc into the ring.
Stitch count: 6 stitches
Tips
6 sc.
Place the assembled cat inside the lightly stuffed pumpkin body.
Position the pumpkin hat over the opening and attach the stem and leaf to the hat.
Use a stitch marker to keep continuous rounds even.
Stuff the head and body gradually for a smooth shape.
Check eye placement before permanently securing the safety eyes.
Keep the pumpkin lightly stuffed so it does not crowd the cat.
The reference shows optional cheek blush; apply it sparingly if desired.
Change the pumpkin, hat, stem, or leaf colors while keeping the same construction.
Add or omit the small cheek blush shown in the reference.
Because the reference does not specify fiber content, use gentle surface cleaning and avoid high heat. If safety eyes are used, keep the finished item away from young children who may pull at small parts.
Stuff the head after its shaping rounds and the body after Rnd 7, adding stuffing gradually.
No. The reconstructed pumpkin body remains open at the top so the cat can sit inside.
Yes, but the finished silhouette will differ from the reference.
Get free crochet patterns and maker tips from Hookfolk.
Login to save your progress
Create a free account or log in to save this pattern, track your progress, and access it on any device.
Have you tried this pattern?
Comments
Be the first to share your experience.