
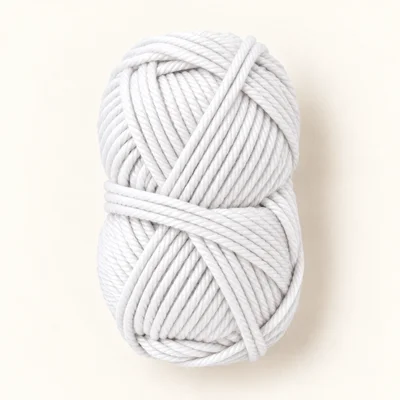
Yarn in white
Worsted (4) · Acrylic or another smooth, washable yarn
Original design selection for the snowman. Amount is not established; use the same yarn weight for all colors.
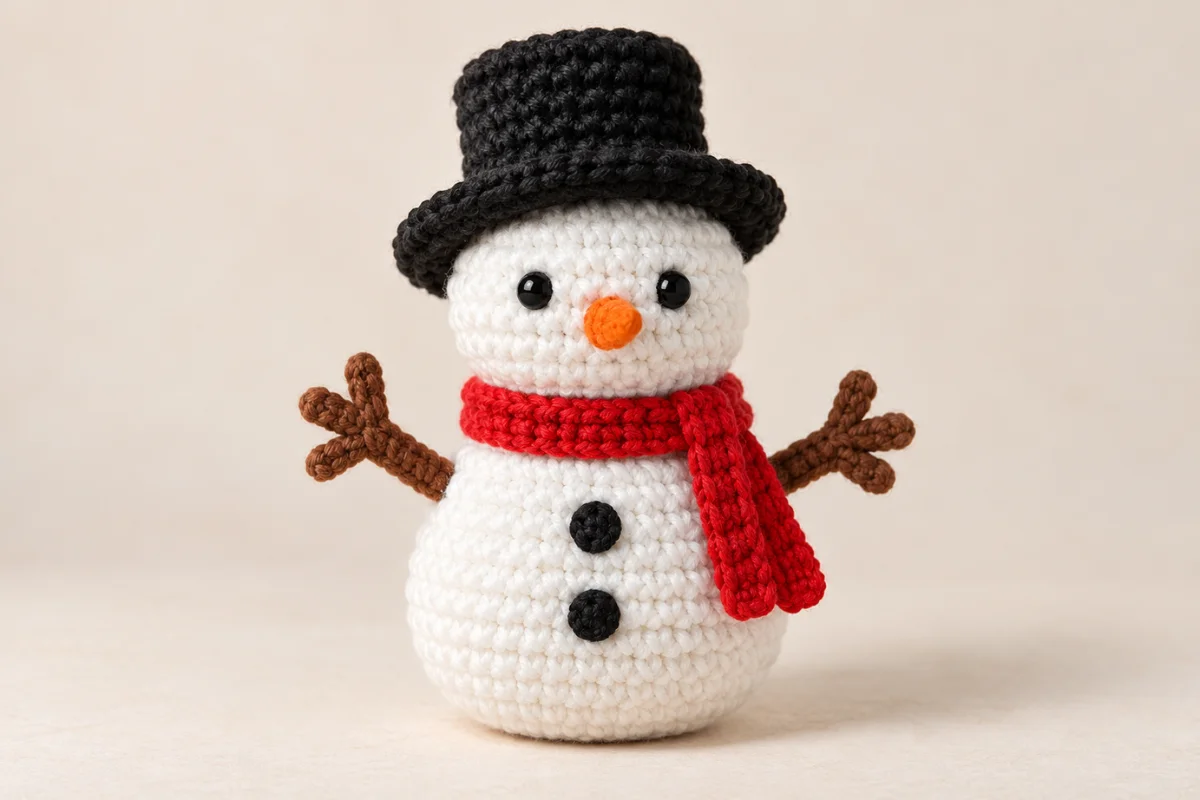
Amigurumi
A classic little snowman with a hat, scarf, and twig-style arms
This is an original snowman amigurumi development draft, designed from the snowman concept rather than recovered from a source pattern. Crochet the body and head as one continuous piece, then add a top hat, scarf, arms, face, and buttons. Review the instructions and test the finished design before publication.
Nobody has made this one start to finish yet. Check your stitch counts as you go, and tell us if something does not add up.
Worked in 4 pieces
Body and head, Top hat, Arms, Scarf
Some sewing required
See Assembly & finishing.
Needs stuffing
Polyester fiberfill
Gather these before you begin.
Worsted (4) · Acrylic or another smooth, washable yarn
Original design selection for the snowman. Amount is not established; use the same yarn weight for all colors.
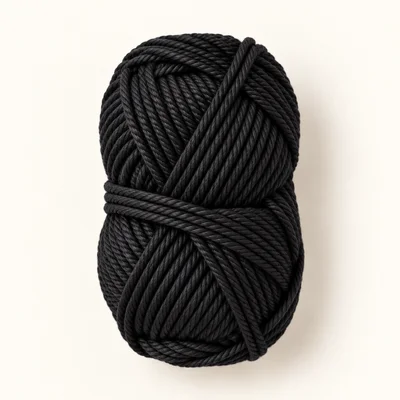
Worsted (4) · Acrylic or another smooth yarn
Original design selection for the top hat.
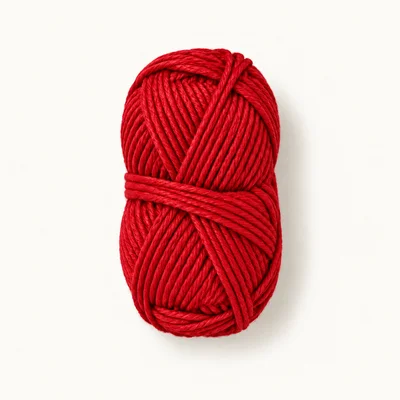
Worsted (4) · Acrylic or another smooth yarn
Original design selection for the scarf.

Worsted (4) · Acrylic or another smooth yarn
Use a small amount to embroider the carrot-shaped nose.

Worsted (4) · Acrylic or another smooth yarn
Use for the arms and embroidered twig details.
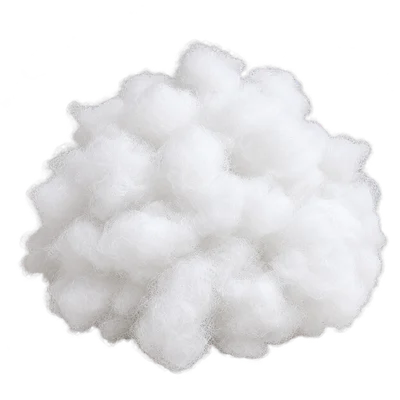
Polyester
Amount is not established. Stuff the body firmly enough to hold its shape without stretching the stitches.
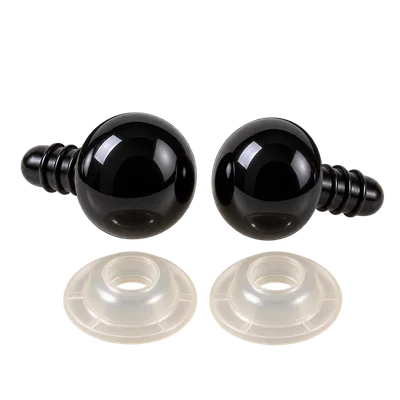
2 pieces
An authored selection for this design. Install securely before stuffing the head. For a toy intended for a child under 3, replace with embroidered eyes.
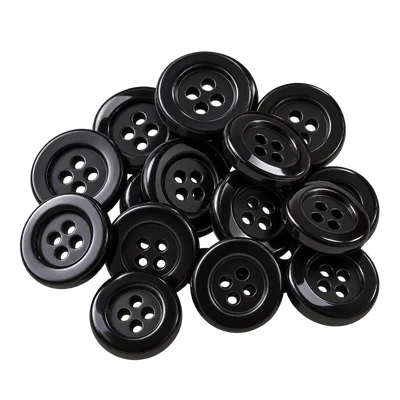
2 pieces
Sew onto the front of the body. Embroidered buttons can be used instead.
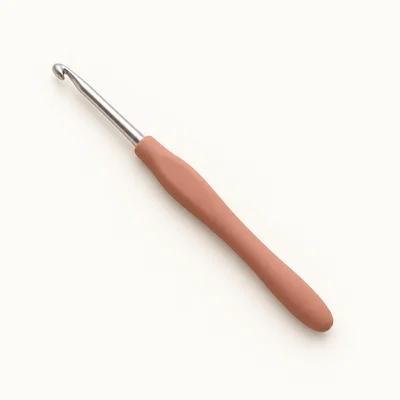
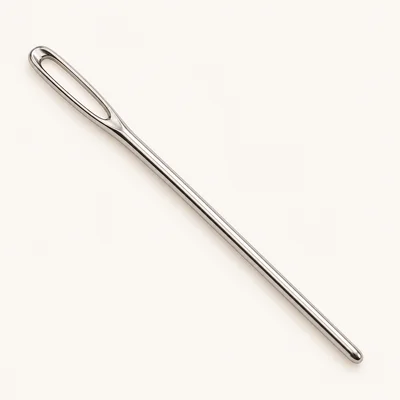
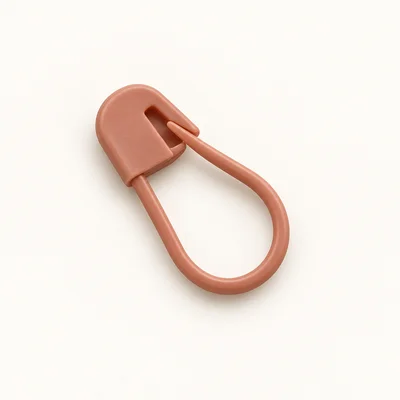
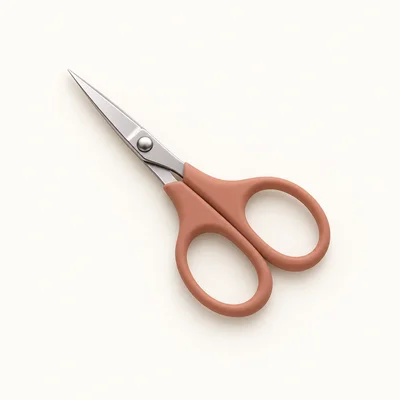
Check off each step to make sure you are ready. Preparation stays in this browser until you log in.
0 / 5 complete
Follow each step at your own pace.
Round 1 of 33
0%
Progress stays in this browser until you log in.
With white, work 6 sc into a magic ring.
Stitch count: 6 stitches
Inc in each st around.
Stitch count: 12 stitches
(Sc, inc) 6 times.
Stitch count: 18 stitches
(Sc 2, inc) 6 times.
Stitch count: 24 stitches
(Sc 3, inc) 6 times.
Stitch count: 30 stitches
(Sc 4, inc) 6 times.
Stitch count: 36 stitches
(Sc 5, inc) 6 times.
Stitch count: 42 stitches
(Sc 6, inc) 6 times.
Stitch count: 48 stitches
Tips
The widest round of the lower body is complete.
Sc in each st around for 8 rounds.
Stitch count: 48 stitches
(Sc 6, dec) 6 times.
Stitch count: 42 stitches
(Sc 5, dec) 6 times.
Stitch count: 36 stitches
(Sc 4, dec) 6 times.
Stitch count: 30 stitches
Tips
Begin stuffing the lower body firmly, keeping the neckline open.
Sc in each st around.
Stitch count: 30 stitches
(Sc 4, inc) 6 times.
Stitch count: 36 stitches
(Sc 5, inc) 6 times.
Stitch count: 42 stitches
Tips
The head widens from the neckline.
Sc in each st around for 5 rounds.
Stitch count: 42 stitches
Tips
Install the safety eyes between Rnds 24 and 25, about 7 stitches apart. Embroider the orange nose between and slightly below the eyes.
(Sc 5, dec) 6 times.
Stitch count: 36 stitches
(Sc 4, dec) 6 times.
Stitch count: 30 stitches
(Sc 3, dec) 6 times.
Stitch count: 24 stitches
Tips
Stuff the head firmly before the opening becomes too small.
(Sc 2, dec) 6 times.
Stitch count: 18 stitches
(Sc, dec) 6 times.
Stitch count: 12 stitches
Dec 6 times.
Stitch count: 6 stitches
Tips
Fasten off with a long tail and close the remaining opening.
With black, work 6 sc into a magic ring.
Stitch count: 6 stitches
Inc in each st around.
Stitch count: 12 stitches
(Sc, inc) 6 times.
Stitch count: 18 stitches
(Sc 2, inc) 6 times.
Stitch count: 24 stitches
Sc in each st around for 5 rounds.
Stitch count: 24 stitches
Tips
The top hat sides are complete. Do not join the rounds.
Working in FLO, inc in each st around.
Stitch count: 48 stitches
Sc in each st around.
Stitch count: 48 stitches
Tips
Fasten off and weave in the end. The brim is intended to flare outward.
With brown, work 4 sc into a magic ring.
Stitch count: 4 stitches
Sc in each st around for 5 rounds.
Stitch count: 4 stitches
Tips
Fasten off each arm with a long sewing tail. Flatten the open end.
With red, ch 7. Sc in the 2nd ch from the hook and in each ch across.
Stitch count: 6 stitches
Ch 1 and turn. Sc in each st across for 43 rows.
Stitch count: 6 stitches
Tips
Fasten off, leaving a tail to weave in. The scarf is a narrow strip; wrap it once around the neck.
With white, work 6 sc into a magic ring.
Stitch count: 6 stitches
Close the opening at the top of the head and weave in the tail. If using safety eyes, install them between Body and head Rnds 24 and 25, about 7 stitches apart, before stuffing the head. Embroider a small orange tapered nose between and slightly below the eyes. Use brown yarn to add short twig marks to the ends of the arms.
Position one arm on each side of the upper body, just below the narrow neck, with the flattened ends against the body. Sew each arm securely in place and weave in the ends.
Wrap the scarf once around the neck and secure it at the back with a few stitches. Sew two small black buttons down the center front of the lower body, spaced evenly below the scarf. Embroider the buttons instead if the snowman is intended for a young child.
Center the hat on top of the head with its brim resting flat. Sew the brim to the head using black yarn, catching several stitches evenly around the opening.
Replace the safety eyes with two small embroidered black eyes. Embroider the eyes before stuffing the head and keep all facial details securely woven in.
Change yarn color at the end of a scarf row to add stripes. Keep the same stitch count and weave in each color end.
Follow the care instructions for the selected yarn and stuffing. Spot clean gently and air dry; avoid machine washing unless all chosen materials are labeled washable.
No. Approximately 15 cm / 6 in is an untested design target. The finished size depends on yarn, hook, tension, and stuffing.
Yes. Embroider two small eyes in the same position before stuffing the head. This is the recommended option for a toy intended for a child under 3.
No. The body and head are worked as one continuous piece. The hat, scarf, arms, and buttons are attached separately.
Get free crochet patterns and maker tips from Hookfolk.
Login to save your progress
Create a free account or log in to save this pattern, track your progress, and access it on any device.
Have you tried this pattern?
Comments
Be the first to share your experience.