

Yarn in orange
Bulky (5) · Polyester chenille; authored selection
Main color for the head, body, arms, legs, and tail. Amount is not established; allow extra yarn for plush fibers and assembly.
Amigurumi
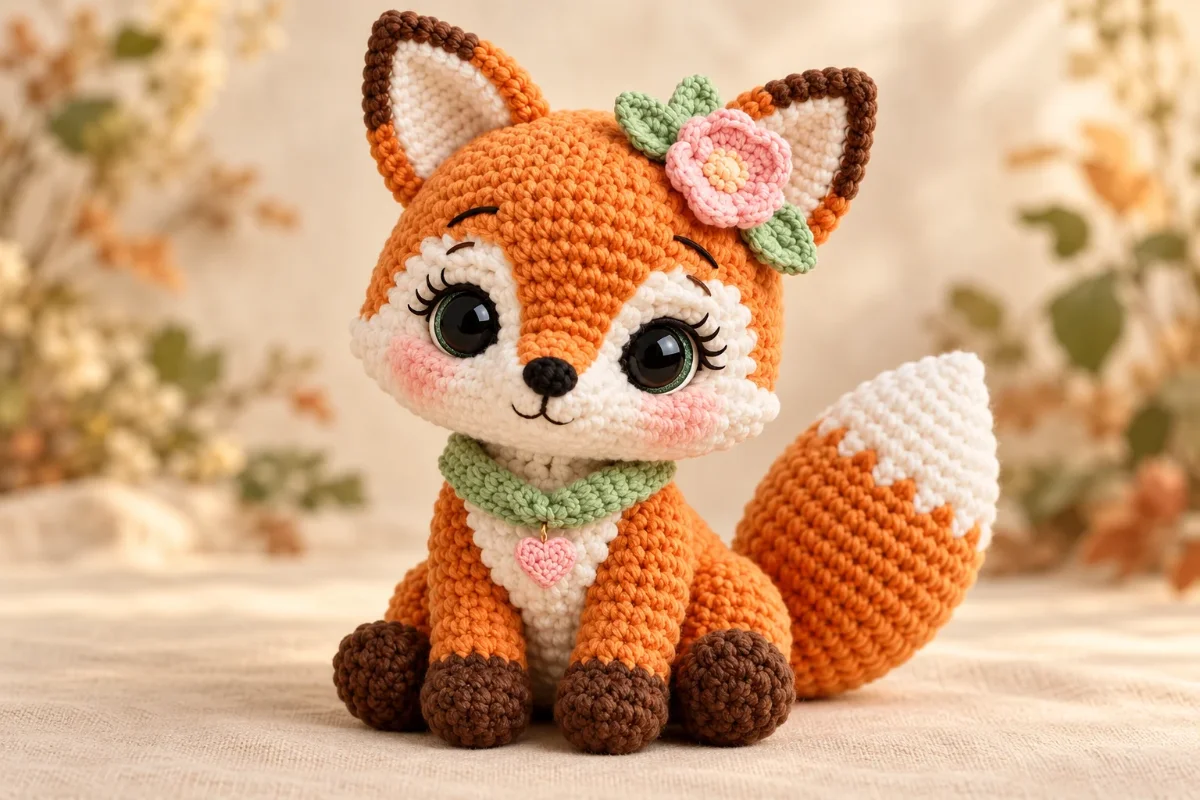
A seated fox with a flower, leafy scarf, and fluffy-tipped tail
Create an original fox amigurumi development draft inspired by the supplied reference image. The design features a large orange head, cream face and belly details, dark paws and ear accents, a white-tipped tail, a green scarf, and a pink flower. This pattern is untested and requires human review before publication.
Nobody has made this one start to finish yet. Check your stitch counts as you go, and tell us if something does not add up.
Worked in 15 pieces
Eye patches, Muzzle patch, Head, Body, Belly patch, Arms, Legs, Outer ears, Inner ears, Tail, Flower center, Flower petals, Leaves, Scarf, Heart charm
Some sewing required
See Assembly & finishing.
Needs stuffing
Polyester fiberfill
Gather these before you begin.
Bulky (5) · Polyester chenille; authored selection
Main color for the head, body, arms, legs, and tail. Amount is not established; allow extra yarn for plush fibers and assembly.
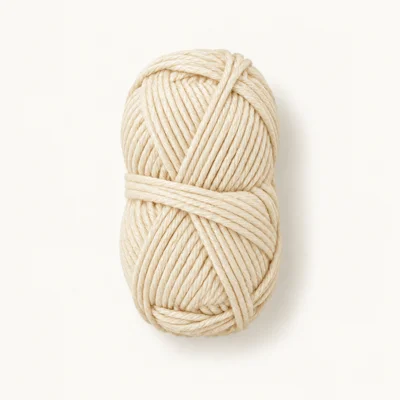
Bulky (5) · Polyester chenille; authored selection
For the eye patches, muzzle patch, belly patch, ear centers, and tail tip. Amount is not established.

Bulky (5) · Polyester chenille; authored selection
For the paw ends and outer ear triangles. Amount is not established.
Bulky (5) · Polyester chenille; authored selection
For the scarf and two leaves. Amount is not established.
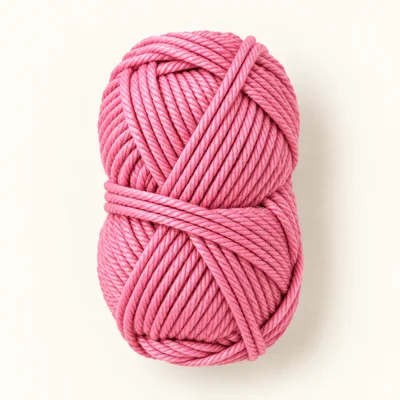
Bulky (5) · Polyester chenille; authored selection
For the flower petals and small heart charm. Amount is not established.
Bulky (5) · Polyester chenille; authored selection
For the flower center. Amount is not established.
Polyester
Use small amounts at a time to shape the head, body, limbs, and tail without stretching the stitches.
2 eyes
Install and secure the washers while the head opening is still accessible. For a toy intended for a young child, embroider the eyes instead.
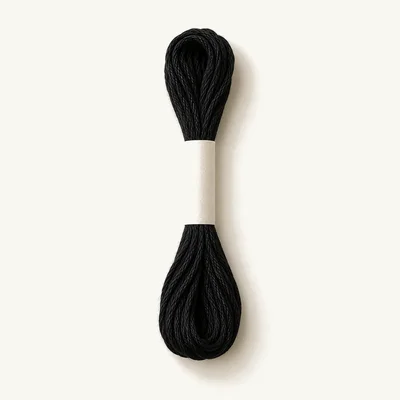
For the nose, mouth, eyebrows, and optional eyelashes.
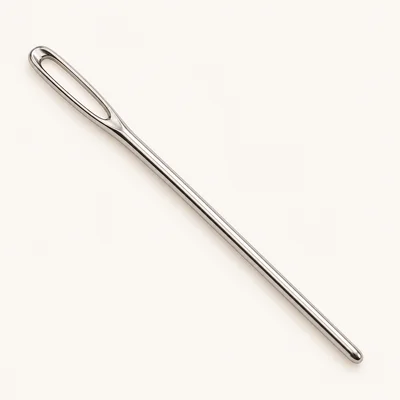
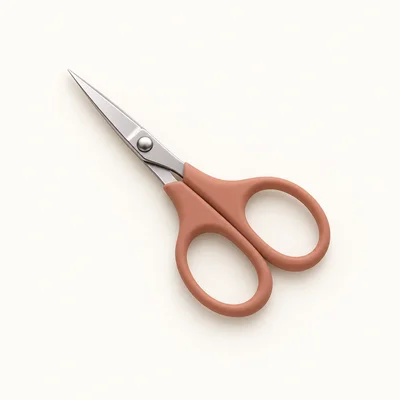
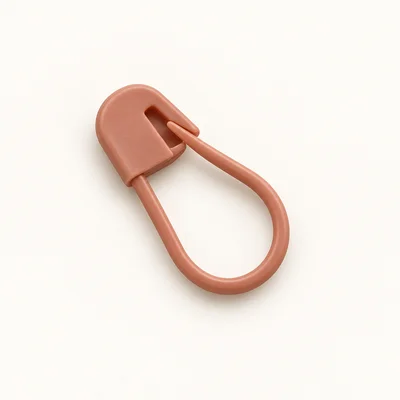
Check off each step to make sure you are ready. Preparation stays in this browser until you log in.
0 / 6 complete
Follow each step at your own pace.
Round 1 of 74
0%
Progress stays in this browser until you log in.
With cream, make 6 sc in a MR. Make 2 patches.
Stitch count: 6 stitches
Tips
Each patch is a small flat circle.
(Inc) × 6.
Stitch count: 12 stitches
(Sc, inc) × 6. Fasten off, leaving a sewing tail.
Stitch count: 18 stitches
Tips
Make 2 cream patches, each with 18 stitches around.
With cream, ch 7. Sc in the 2nd ch from the hook, sc in the next 4 ch, 3 sc in the last ch. Working along the opposite side of the foundation chain, sc in the next 4 ch, 2 sc in the last ch. Fasten off, leaving a sewing tail.
Stitch count: 14 stitches
Tips
The first side has 5 sc and the two rounded ends have 3 sc and 2 sc.
Starting at the 3-sc rounded end, inc in each of its 3 sc, sc in the next 4 sts, inc in each of the next 2 sts at the opposite rounded end, then sc in the remaining 4 sts. Fasten off, leaving a sewing tail.
Stitch count: 19 stitches
Tips
The oval has a wider rounded end for the cheeks.
With orange, make 6 sc in a MR.
Stitch count: 6 stitches
(Inc) × 6.
Stitch count: 12 stitches
(Sc, inc) × 6.
Stitch count: 18 stitches
(Sc 2, inc) × 6.
Stitch count: 24 stitches
(Sc 3, inc) × 6.
Stitch count: 30 stitches
(Sc 4, inc) × 6.
Stitch count: 36 stitches
(Sc 5, inc) × 6.
Stitch count: 42 stitches
(Sc 6, inc) × 6.
Stitch count: 48 stitches
Tips
The head is widest at 48 stitches.
Sc in each st around for 8 rounds.
Stitch count: 48 stitches
Tips
Keep the front of the head facing you and place the eye patches over the front center.
Sc in each st around for 6 rounds. Sew the two eye patches to the front, leaving their centers open. Set the safety eyes through the patch centers and the head, about 6 stitches apart. Secure the washers inside the head before stuffing.
Stitch count: 48 stitches
Tips
Both eyes are firmly secured and evenly spaced before the head is closed.
(Sc 6, dec) × 6.
Stitch count: 42 stitches
(Sc 5, dec) × 6.
Stitch count: 36 stitches
(Sc 4, dec) × 6.
Stitch count: 30 stitches
(Sc 3, dec) × 6. Begin stuffing the head firmly but evenly.
Stitch count: 24 stitches
Tips
The eye washers are covered by stuffing and cannot shift.
(Sc 2, dec) × 6.
Stitch count: 18 stitches
(Sc, dec) × 6.
Stitch count: 12 stitches
Dec × 6. Fasten off and close the remaining opening. Weave in the end.
Stitch count: 6 stitches
Tips
Head is closed; its lower edge will be sewn to the body.
With orange, make 6 sc in a MR.
Stitch count: 6 stitches
(Inc) × 6.
Stitch count: 12 stitches
(Sc, inc) × 6.
Stitch count: 18 stitches
(Sc 2, inc) × 6.
Stitch count: 24 stitches
(Sc 3, inc) × 6.
Stitch count: 30 stitches
(Sc 4, inc) × 6.
Stitch count: 36 stitches
(Sc 5, inc) × 6.
Stitch count: 42 stitches
Tips
The base is broad enough for the seated fox.
Sc in each st around for 5 rounds.
Stitch count: 42 stitches
(Sc 5, dec) × 6.
Stitch count: 36 stitches
(Sc 4, dec) × 6.
Stitch count: 30 stitches
(Sc 3, dec) × 6.
Stitch count: 24 stitches
(Sc 2, dec) × 6.
Stitch count: 18 stitches
Sc in each st around for 2 rounds. Fasten off, leaving a long tail for sewing. Stuff firmly, keeping the top opening accessible.
Stitch count: 18 stitches
Tips
The body is rounded at the base and narrows at the neck.
With cream, ch 9. Sc in the 2nd ch from the hook and in each ch across.
Stitch count: 8 stitches
Ch 1, turn. Inc, sc 6, inc.
Stitch count: 10 stitches
Ch 1, turn. Inc, sc 8, inc.
Stitch count: 12 stitches
Ch 1, turn. Sc in each st across for 3 rows.
Stitch count: 12 stitches
Tips
The patch is a narrow rounded panel.
Ch 1, turn. Dec, sc 8, dec.
Stitch count: 10 stitches
Ch 1, turn. Dec, sc 6, dec. Fasten off, leaving a sewing tail.
Stitch count: 8 stitches
Tips
The patch narrows at its upper and lower ends.
With dark brown, make 6 sc in a MR. Make 2 arms.
Stitch count: 6 stitches
(Inc) × 6.
Stitch count: 12 stitches
Sc in each st around for 2 rounds.
Stitch count: 12 stitches
Change to orange. Sc in each st around for 4 rounds.
Stitch count: 12 stitches
Tips
The brown ends form the paws; the orange sections are the forearms.
(Sc, dec) × 4. Stuff the paw and arm lightly, flatten the opening, and fasten off with a long sewing tail.
Stitch count: 8 stitches
Tips
Make 2 lightly stuffed arms, open at the top for sewing.
With dark brown, make 6 sc in a MR. Make 2 legs.
Stitch count: 6 stitches
(Inc) × 6.
Stitch count: 12 stitches
(Sc, inc) × 6.
Stitch count: 18 stitches
Sc in each st around for 2 rounds.
Stitch count: 18 stitches
Change to orange. Sc in each st around for 3 rounds. Stuff the brown foot firmly and the orange leg lightly. Fasten off, flatten the opening, and leave a long sewing tail.
Stitch count: 18 stitches
Tips
Make 2 legs with dark brown feet and orange upper sections.
With orange, ch 3. Sc in the 2nd ch from the hook and in the next ch. Make 2 outer ears.
Stitch count: 2 stitches
Ch 1, turn. Inc in each st.
Stitch count: 4 stitches
Ch 1, turn. Inc, sc 2, inc.
Stitch count: 6 stitches
Ch 1, turn. Inc, sc 4, inc.
Stitch count: 8 stitches
Ch 1, turn. Inc, sc 6, inc.
Stitch count: 10 stitches
Ch 1, turn. Inc, sc 8, inc. Fasten off, leaving a sewing tail.
Stitch count: 12 stitches
Tips
The orange ear triangle is widest at its base.
With cream, ch 3. Sc in the 2nd ch from the hook and in the next ch. Make 2 inner ears.
Stitch count: 2 stitches
Ch 1, turn. Inc in each st.
Stitch count: 4 stitches
Ch 1, turn. Inc, sc 2, inc.
Stitch count: 6 stitches
Ch 1, turn. Inc, sc 4, inc. Fasten off, leaving a sewing tail.
Stitch count: 8 stitches
Tips
Make 2 smaller cream triangles.
With cream, make 6 sc in a MR.
Stitch count: 6 stitches
(Inc) × 6.
Stitch count: 12 stitches
(Sc, inc) × 6.
Stitch count: 18 stitches
Tips
The cream rounds form the tail tip.
Sc in each st around for 2 rounds.
Stitch count: 18 stitches
Change to orange. Sc in each st around for 5 rounds. Begin stuffing the cream tip lightly.
Stitch count: 18 stitches
(Sc, dec) × 6. Stuff the tail lightly and fasten off, leaving a long sewing tail.
Stitch count: 12 stitches
Tips
The tail narrows at the end that will attach to the body.
With peach, make 6 sc in a MR.
Stitch count: 6 stitches
(Inc) × 6. Fasten off, leaving a sewing tail.
Stitch count: 12 stitches
Tips
The center is a small flat circle.
With pink, join yarn to any stitch on the flower center. For each of the 6 center stitches, work (ch 2, 2 dc, ch 2, sl st) into that same stitch to make one rounded petal. Fasten off and weave in the end.
Tips
Six petals surround the peach center.
With light green, ch 7. Sl st in the 2nd ch from the hook, sc in the next ch, hdc in the next ch, dc in the next ch, hdc in the next ch, sc in the last ch. Fasten off, leaving a sewing tail. Make 2 leaves.
Stitch count: 6 stitches
Tips
Each leaf tapers at one end and is wider near the other.
With light green, ch 35. Sc in the 2nd ch from the hook and in each ch across.
Stitch count: 34 stitches
Ch 1, turn. Sc in each st across for 3 rows. Fasten off and weave in the ends.
Stitch count: 34 stitches
Tips
The scarf is a short band; check its fit around the fox's neck before sewing the ends together.
With pink, ch 4 and join with a sl st to form a small ring. Ch 2, work 3 dc into the ring, 3 hdc into the ring, ch 1, 3 hdc into the ring, 3 dc into the ring, ch 2, then sl st into the ring. Fasten off, leaving a sewing tail.
Tips
The stitch groups form two rounded lobes and a pointed lower edge.
With cream, make 6 sc in a MR. Make 2 patches.
Stitch count: 6 stitches
Tips
Each patch is a small flat circle.
Center the cream muzzle patch below the eyes and sew it to the lower front of the head. With black embroidery thread, embroider a small triangular nose at the upper center of the muzzle. Stitch a short line down from the nose and a curved mouth beneath it. Add two short eyebrows above the eyes and optional lashes at the outer corners. If desired, add a small amount of pink blush with embroidery thread; avoid loose surface fibers around the eyes.
Place one cream inner triangle on each orange outer ear, centered with the wider edges aligned. Sew the inner triangles in place. With dark brown, use surface slip stitches to outline the two sloping sides of each orange ear, leaving the lower edge orange. Fold each ear slightly at its base and sew it to the top of the head, one on either side.
Center the cream belly patch on the front of the body, with its wider middle over the widest part of the body, and sew around its edges. Sew the two legs to the lower front of the body with the dark brown feet facing forward and slightly outward. Sew the arms to the upper sides of the body, just below the neck opening, with the brown paws pointing forward.
Add or adjust stuffing in the body. Position the head on the narrow top opening of the body with the face pointing forward. Sew the opening of the body securely to the lower edge of the head, adding stuffing before closing the final gap. Weave in the sewing ends.
Sew the narrow end of the tail to the back of the body, low enough that it supports the seated pose. Angle the cream tip upward and slightly to one side. Add a few stitches at the side of the tail if needed to hold the curve.
Sew the two light green leaves behind the pink flower, angled in opposite directions. Sew the flower to the upper side of the fox's head, above one ear. Secure the flower center and petal bases so they do not lift away.
Wrap the scarf around the neck and check that it lies flat without pulling the head forward. Sew the short ends together at the back of the neck. Sew the pink heart charm to the center front of the scarf.
For a child-safe soft toy, omit the safety eyes and embroider two dark oval eyes on the head. Secure the embroidery ends inside the head before closing it.
Use rust or burnt orange for the main color and a muted sage or brown for the scarf. Keep the cream face and belly patches for contrast.
Care depends on the selected yarn and any attached hardware. Follow the yarn label. If the selected yarn permits it, spot clean gently and air dry fully; do not immerse a toy with safety eyes unless its materials and construction are confirmed washable.
Yarn fiber and care performance have not been tested for this development draft.
About 15 cm / 6 in tall when seated is the design target, not a measured result. Yarn thickness, hook choice, tension, and stuffing can change the finished size.
Yes. A different yarn can change the fox's size, texture, and accessory fit. Choose a hook that produces a firm fabric and check that the eye patches and scarf still fit before sewing them on.
No. Safety eyes have hard backs and small parts. For a toy intended for a young child, embroider the eyes instead and secure the thread ends firmly.
No. This is an original reference-inspired development draft and is marked untested. It needs human review and physical testing before publication.
Get free crochet patterns and maker tips from Hookfolk.
Login to save your progress
Create a free account or log in to save this pattern, track your progress, and access it on any device.
Have you tried this pattern?
Comments
Be the first to share your experience.